
Simple VR Experience Creation tutorial
Introduction
In this tutorial, we are going to walk you through the necessary steps to create your first interactive VR Experience in SimLab VR Studio. The interactive experience we will be creating is for an earth globe to rotate around itself once the user interacts with it in VR.
Preparation
Before we begin, let us first import that 3d scene that we will be working with.
Click here to download the model.
In SimLab VR studio from the top panel, go to "File" then click on "Open".
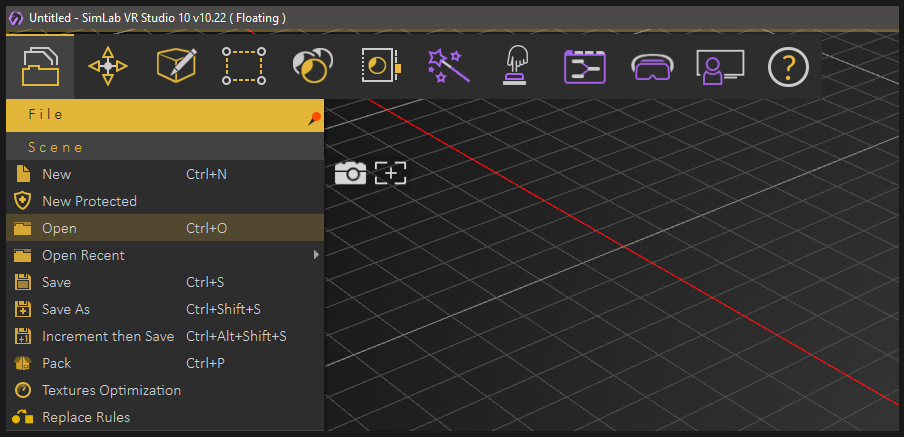
Browse to the directory where the file has been downloaded, then select it and click open.
1. Creating the animation
The first step we are going to take is to create the rotation animation of earth.
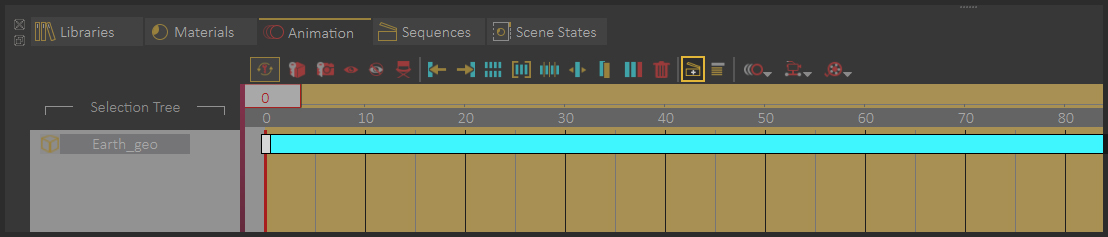
Left click the earth geometry to select it, then In the bottom panel, switch to the animation tab.
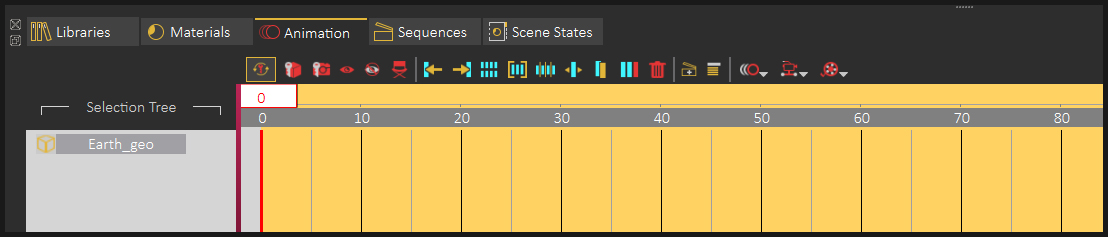
In the Animation tab you can create, manage and edit animation for objects in the scene.
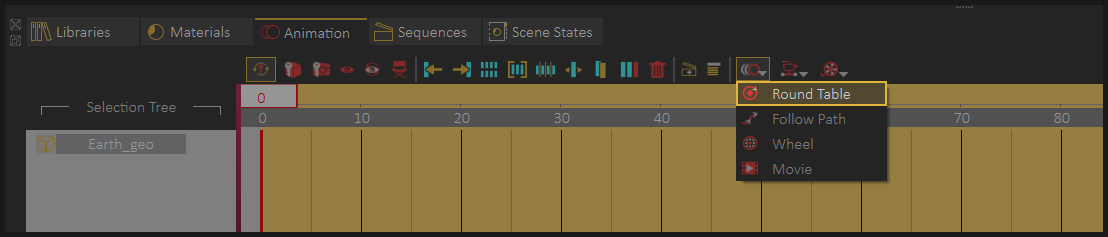
With the earth geometry still selected, click on the object animation drop down menu and select, Round Table.
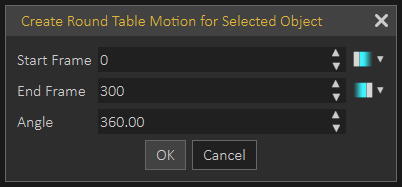
In the Round Table dialogue, you can set the start frame and the end frame for the animation, as well as the degrees that the object would turn.
Leave the parameters at their default values with an angle of 360 to make a full turn, and click “Ok”.
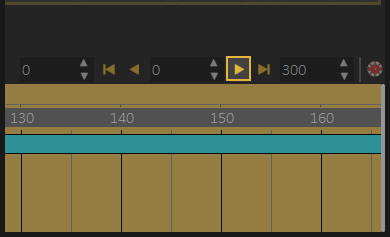
You can press the Play button at the right side of the Animation tab to run the created animation.
2. Converting the animation to an Animation Sequence
The second step is to turn that animation to an asset called "Animation Sequence", which we can later utilize in the VR experience.
In the bottom panel, with the earth geometry selected, left click the created animation to select it, then click on the “Create Animation Sequence” button.
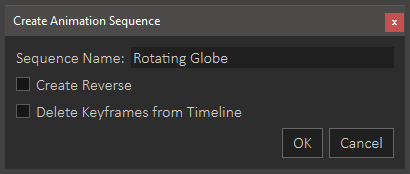
In the Animation Sequence creation dialogue, type a name for the sequence, then click "OK" to finish the creation process.
If you were to switch to the sequences tab, you will find the newly created animation sequence named rotating globe, and what is left, is to attach this animation sequence to the earth geometry which takes us to the 3rd step.
3. Creating the Interaction Event in the Training Builder
From the panel to the top, click on the training builder.
The training builder is a visual node based tool that allows us to create simple and intricate interactions of objects through an event-response system.
Drag and drop the node triggered event to the training builder work area.
From the 3d area, select the earth geometry then attach it as the scene node for the event.
Now go to the Play Sequence response, and drag it and drop it onto the work area to add a play sequence node.
Now select the rotating globe animation sequence we previously created, and attach it to the play sequence response.
Under the loop option, you can set it to false to have the animation sequence run once, or set it to true to loop the animation.
Drag and drop the execute channel from the event, to the execute channel in the response to attach them together.
What we now have is a simple interactive system where when the user triggers or clicks the earth geometry, the rotating animation would play.
Next is running the VR experience.
4. Running The VR Experience
Close the training builder and from the VR viewer menu at the top, select “Show in Viewer”.
In the Viewer Modes window you can select whether to run the experience in :
- Desktop mode, in case you do not have a VR headset.
- PC VR, if you have VR headset attached to the computer such as Oculus rift, a linked quest, or HTC vive.
- Stand alone device, when you have a wireless device that is not directly linked to computer such as an Oculus quest in wireless mode, Pico or an Android or an IOS device.
Notice that a human character has been automatically added to the scene, this is the Viewer start position and it determines where your initial position would be at the beginning of the VR experience.
You can use the draggers to change the Viewer Starting position, but its default position is suitable for the VR experience, so leave it there and click the check mark to confirm its location and start the VR experience.
Desktop Navigation Controls
To look around you in the scene, move the mouse.
To Move around, use the arrows or the w a s d keys on the keyboard.
To trigger or interact with an object in VR, aim towards the object and press lift click on the mouse.
Congratulations, you have created you first interactive VR experience.
To learn more about VR and interactive experience creation, you can go to the academy in the bottom panel, and browse the different tutorials under VR where you can learn the basics as well advanced techniques that enables you to create intricate VR experiences.