
Library
Introduction
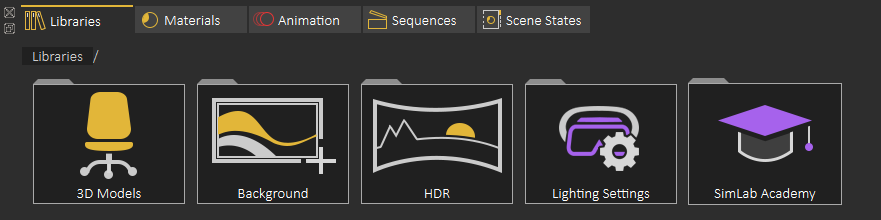
Libraries Panel at the lower part of the application interface, provides access to following elements in VR Studio
Asset Libraries
Material Library
Animation Time Line
Sequences Library
Scene States Library
Both Asset Libraries and Material Library are mainly used to access assets and materials provided from SimLab Soft. The user can still add her/his own assets to the asset libraries.
Animation, Sequences and Scene States tabs provide access to user created elements in the scene and to add more elements to the current scene.
Asset Libraries
Asset Library gives user access to 3D models to be added to the scene

The user can add also scene Backgrounds and HDR (Environment images)
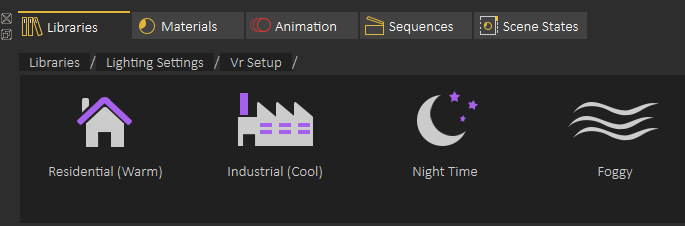
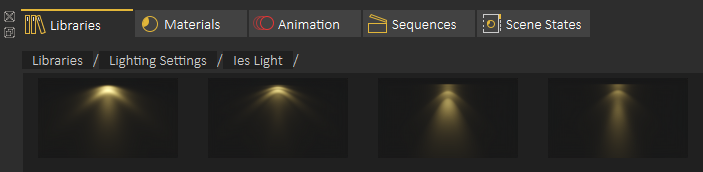
Lighting settings gives user access to some predefined Lighting Settings, and to add IES lights to the scenes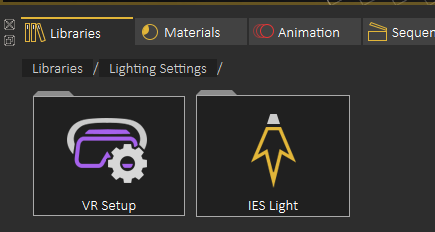
Predefined VR Lighting settings are shown in the following image
The following image shows some of the IES lights included in VR Studio
Adding an element from Asset Libraries to current scene can be done in one of two ways
1- Dragging and element from the library and dropping it on the 3D area
2- Double clicking the element in the Asset Library
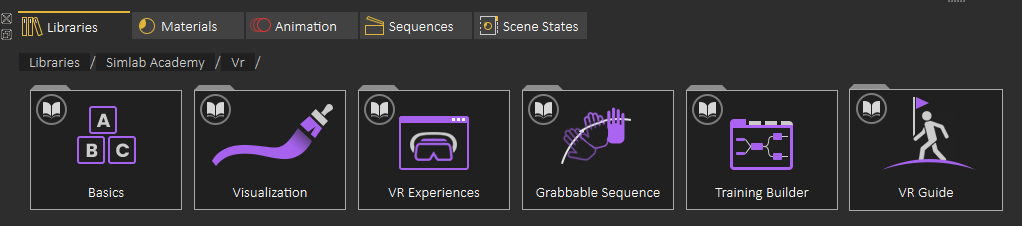
SimLab Academy
SimLab Academy the last element in the Asset Libraries in SimLab Academy, SimLab Academy includes free step by step tutorials with all models needed to follow the tutorial.
For example to start learning VR creation, the use starts by clicking on SimLab Academy, then selecting VR
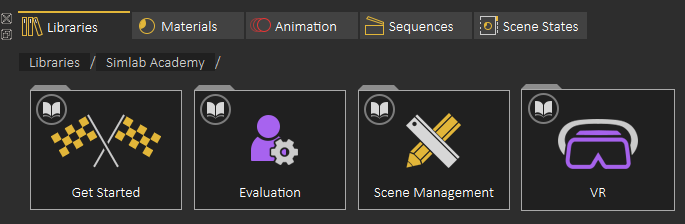
Then select what do you want to learn like Basics
The following video shows SimLab Academy in action
Material Library
Default Material Library can be downloaded by selecting the material library tab in the Library
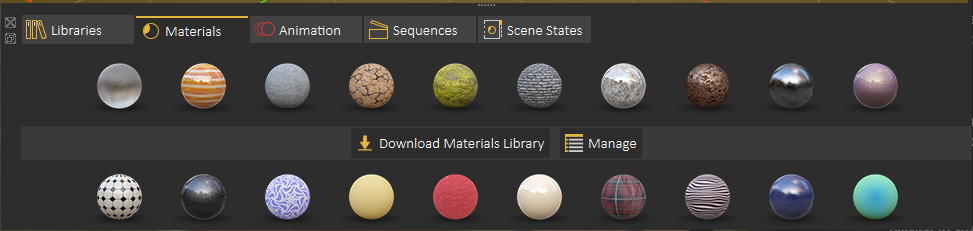
After installing the library the user needs to select the material group
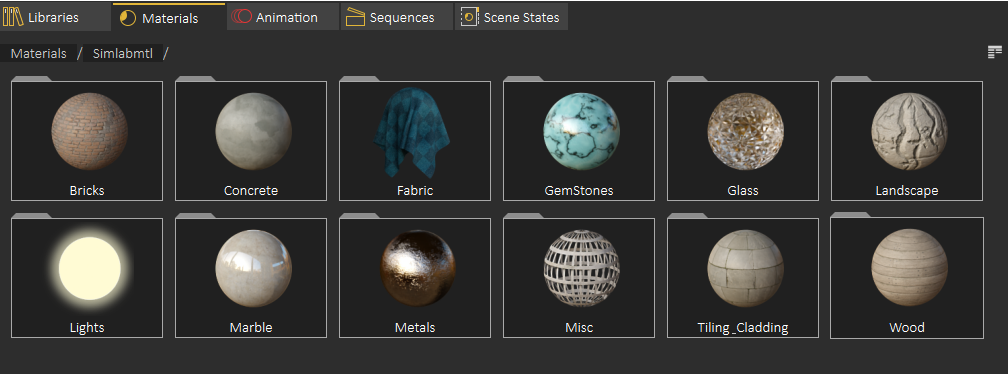
When viewing materials you can drag a material and drop it in an object in the 3D area to change its material

The following tutorial from SimLab Composer shows the material management capabilities, which are the same as the ones in VR Studio
Using +/- in the top right side of the material library the user can add new materials to the material library
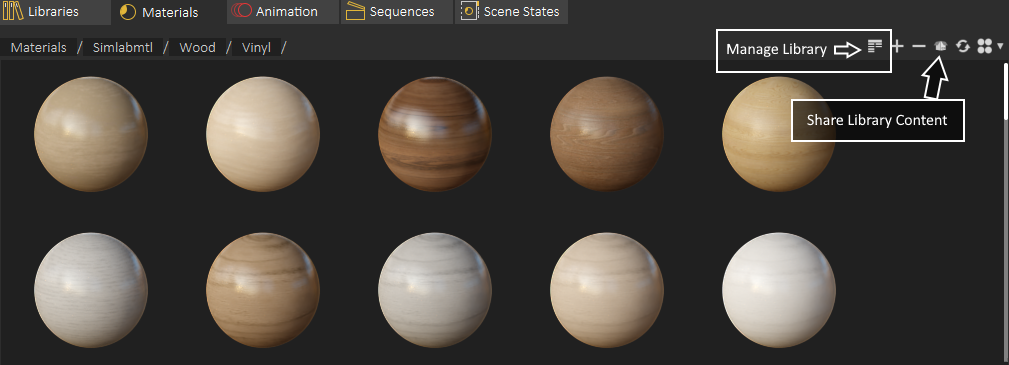
For managing Material Library the user can click on Manage Library, For sharing part of contents library (Materials or 3D models), the user can use Share Library Content
The following image shows the Manage Library dialog

Share Contents
With this feature, sharing different resources is simplified significantly. The rule is clear: if a resource exists in a library, then it can be shared.
Resources can be:
Materials
HDRs
Models
Background Images
And even more...
To share a resource, just drag and drop it from a library panel to the area with the title Drop to Share and surrounded by orange dotted border,
which is located on the panel of Sharing Resourced tab. This procedure is shown in the following image:
Sharing Resources tab includes the following control elements, as shown in the following image:
Drop to Share: It is an area where the user should drop in a resource.
Save Package: It is a button that let you to export and save a package to be shared with colleagues or sent to SimLab team.
Load Package: It is a button that let you to import a package into SimLab VR Studio.
Animation Time Line
Provides the user with a tool to visualize and edit animation key frames, as well as to set the animation duration, by setting the end key frame value.
The current frame is marked on the time line by a red vertical line. The names of the animated objects appear on the left part of the time line, clicking on the name of any object automatically selects it in the 3D area.
The user can play animation by clicking the Play Animation button in the animation time line, or by hitting the Space Bar. The tool bar also
includes the tool buttons Go to First Frame (Shortcut Home) and Go to Last Frame (Shortcut End).

The following tutorial shows how to use Animation Time Line to create animations and to convert them into sequences.
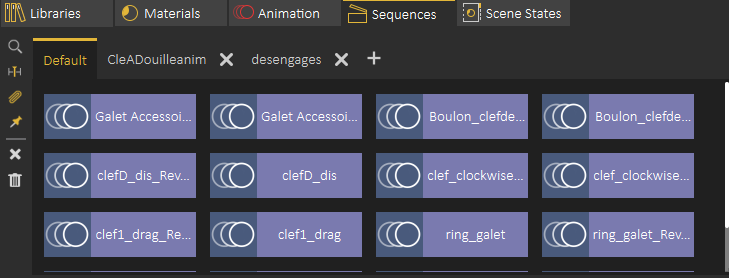
Sequence Library
Sequence Library shows a list of all sequences in the scene.
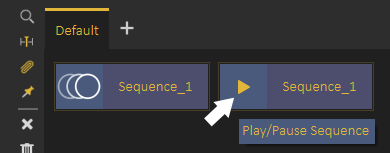
Sequence Preview
To preview a sequence without converting it into animation, the user can highlight the animation icon part of the sequence, which will be converted into a play icon, clicking the play icon will preview the sequence, as shown in the following image
On the left side of the Sequence library the user can do the following:
Find affected Objects: zooms the view in the 3D area to the objects affected by this sequence, which makes it easy to find what objects the sequence affect in the scene.
Apply Sequence to Animation Time Line: adds the contents of sequence to the animation time line, this can also be achieved by dragging the animation and dropping it on the 3D Area
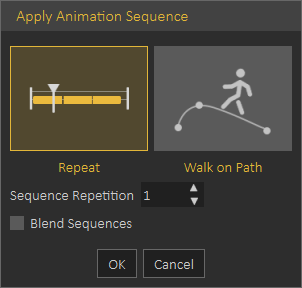
When applying Sequence to Animation Time Line the following dialog appears allowing the user to repeat the sequence multiple times. or to use it in a follow path animation.
Sequences will be added starting from the current frame in the Animation Time Line
Attach Sequence with Object : This option attaches selected unattached sequence to the selected object to affect it, better explained in the following tutorial
Make Flex Object Stationary: in case you have a sequence moving VR Guide legs , and at the same time moving it from place, you can use this option to remove the move from place part from the sequence and make the VR Guide move in place, this is very useful to apply user desired motion on the VR Guide
Delete Selected Sequence: Deletes the currently selected sequence
Delete All Sequences: Deletes all sequences in the Sequence Library
The following tutorial shows how to use Sequence Library to add VR Guide to the VR experience
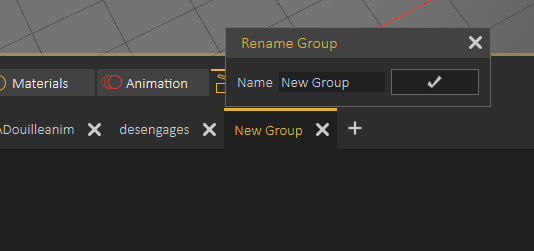
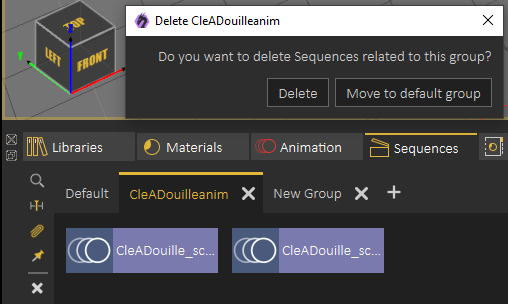
Sequence Groups
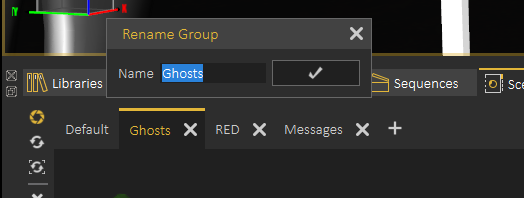
Sequences in Sequence Library can be organized in groups, a new group can be added by clicking on the + button next to group tabs, to rename Sequence Group the user needs to double click on its tab label as shown below
When deleting a sequence group the user will get the option to delete sequences in the group or to move them to the Default sequence group, as shown in the following image.
Scene State Library
Scene States enable the user to capture different configurations for the selected 3D model(s), or for the whole scene.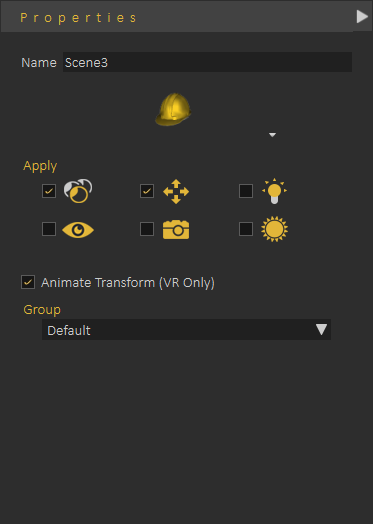
To view what is selected in the scene state, make sure nothing is selected in the scene, then click on a scene state in the Scene State Library
Properties Panel update will allow the user to change what to effect in the Scene State, it also allows the user to change the group of the Scene State
Scene State Library, includes small tool buttons on the left side, allowing the user to:
1- Open the Capture Scene State Dialog
2- Regenerate Scene State Images
3- Delete Active Scene State
4- Delete all Scene Sates
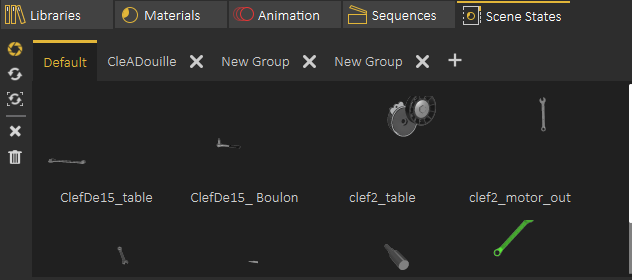
Scene State Groups
Scene State Groups are very similar to Sequence Groups Library, they can be used to organize Scene States, a new group can be added by clicking on the + button next to group tabs, to rename Scene State Group the user needs to double click on its tab label as shown below
When deleting a Scene State Group the user will get the option to delete Scene States in the group or to move them to the Default group