
Interactions Menu
Adding interactions with VR environment is what adds value to the experience. This menu, is where users can manage VR Docks and grabbable objects.
Grabbing Group
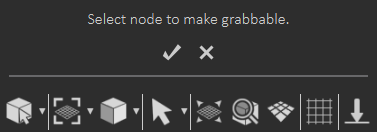
Make Grabbable
Makes selected objects grabbable in the scene.
|
|
|
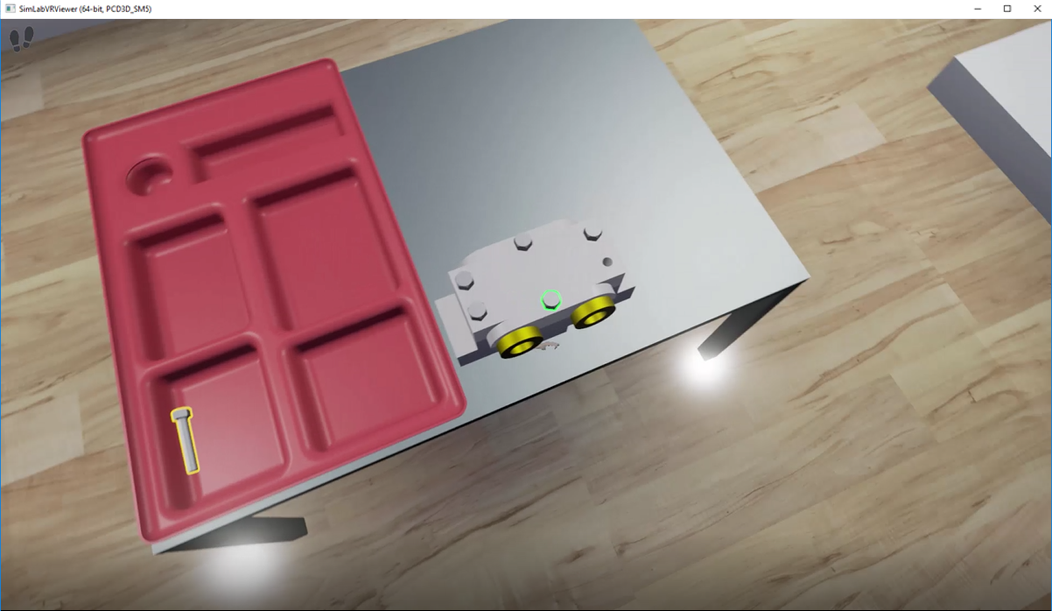
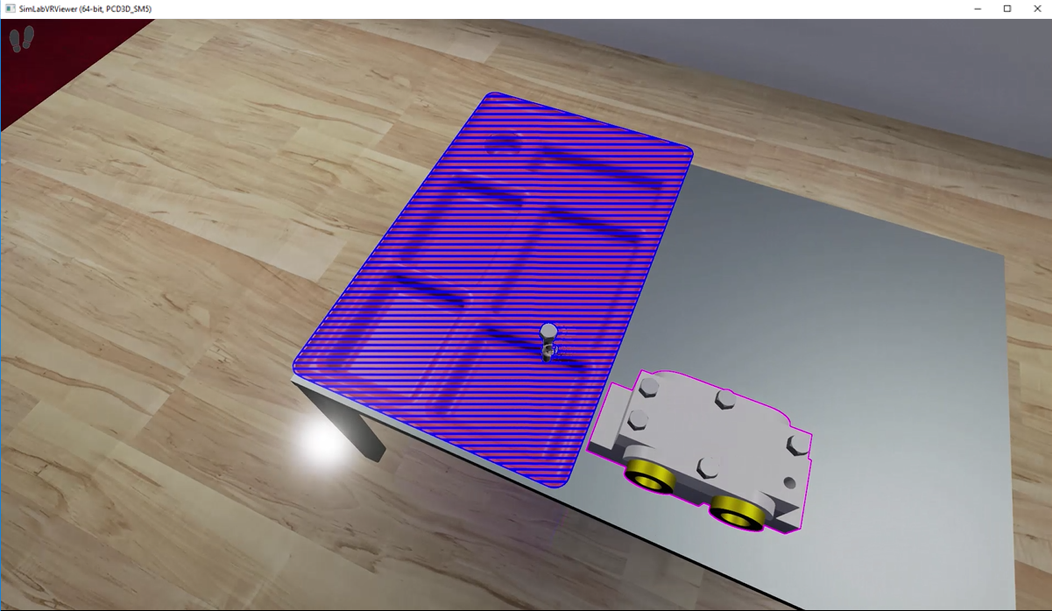
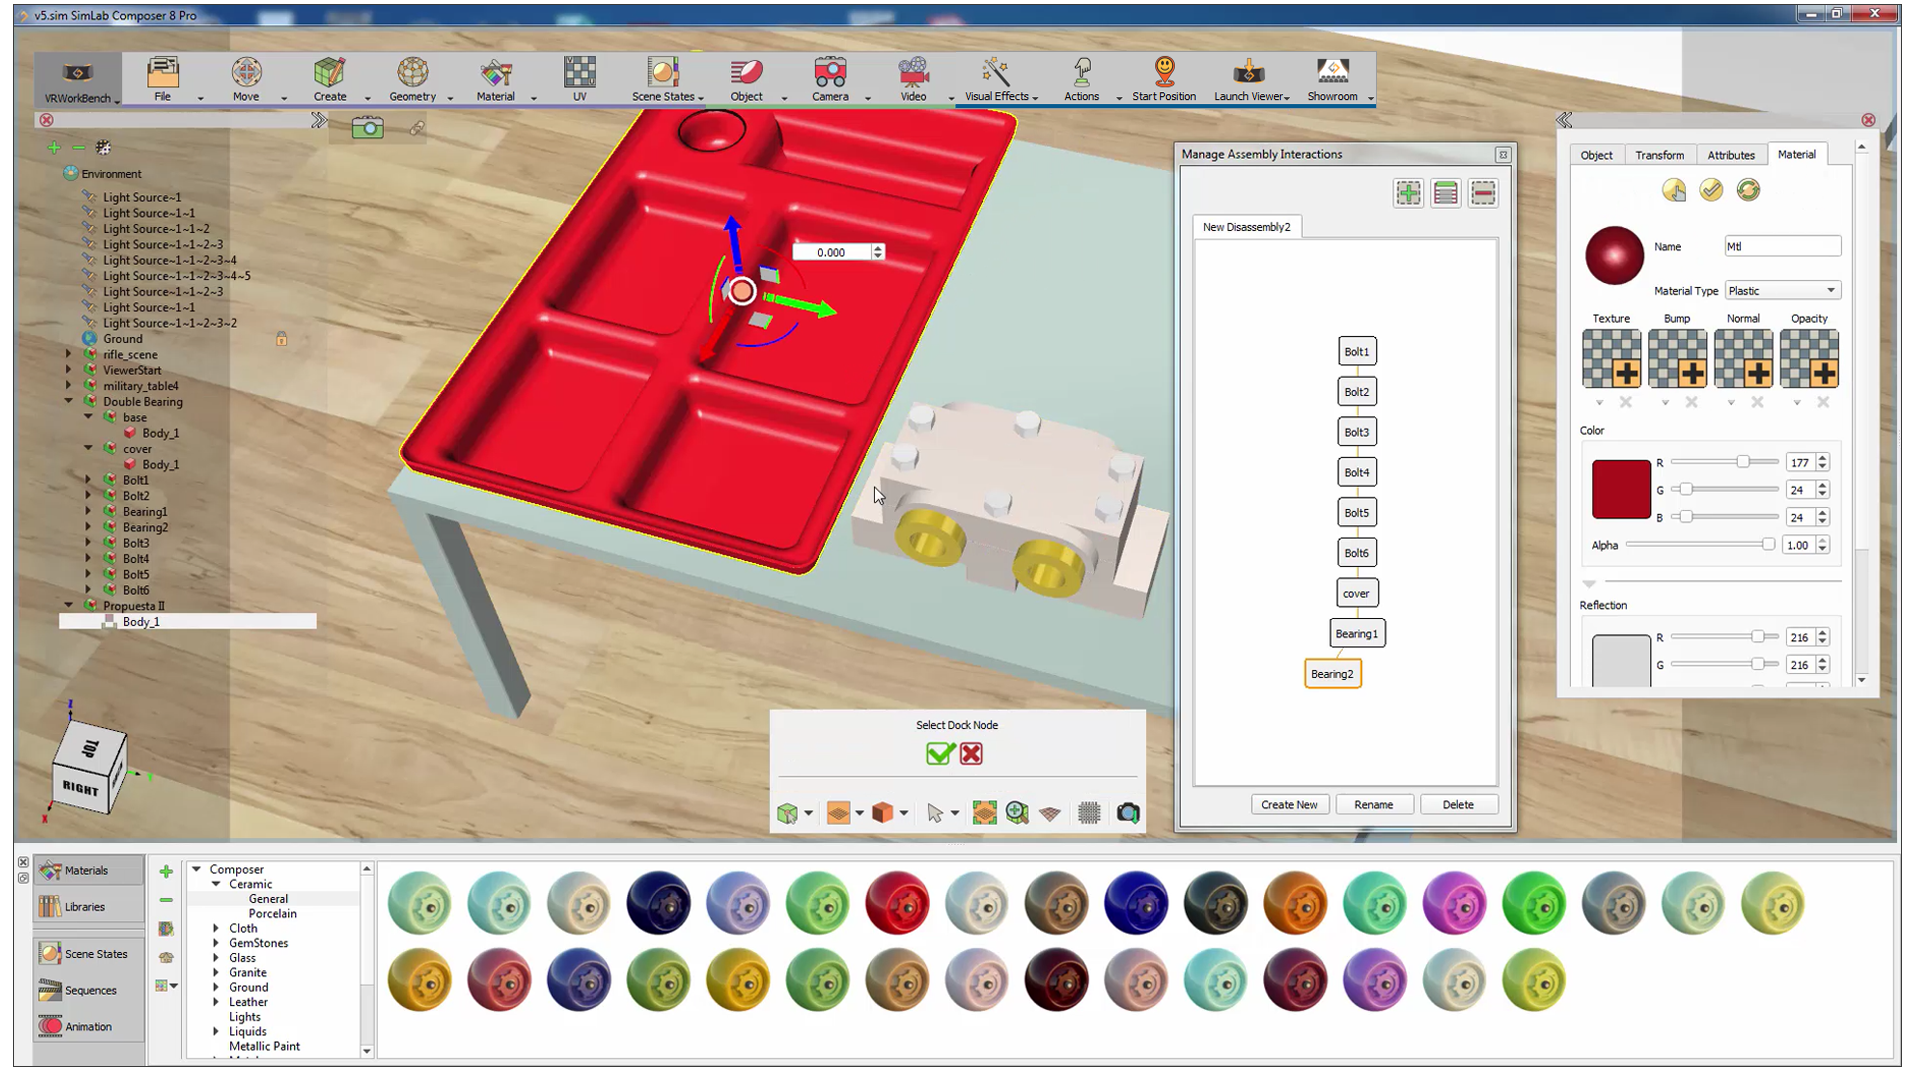
Interacting with assemblies in SimLab VR viewer is very simple, the colored outlines and highlights will guide the user throughout the assembly and diss-assembly process with ease and without any confusion. Green highlight object in an assembly refers to the current available part of the system that you can remove. Yellow highlight indicates that the object can be grabbed.
You will also notice a blue highlight on the assembly indicating that you can place the object in there.
Press “H” on your keyboard to toggle the hand. The hand has a fixed position at the center of the view, but can be moved away or towards you using the mouse scroll.
Make Grabbable Sequence
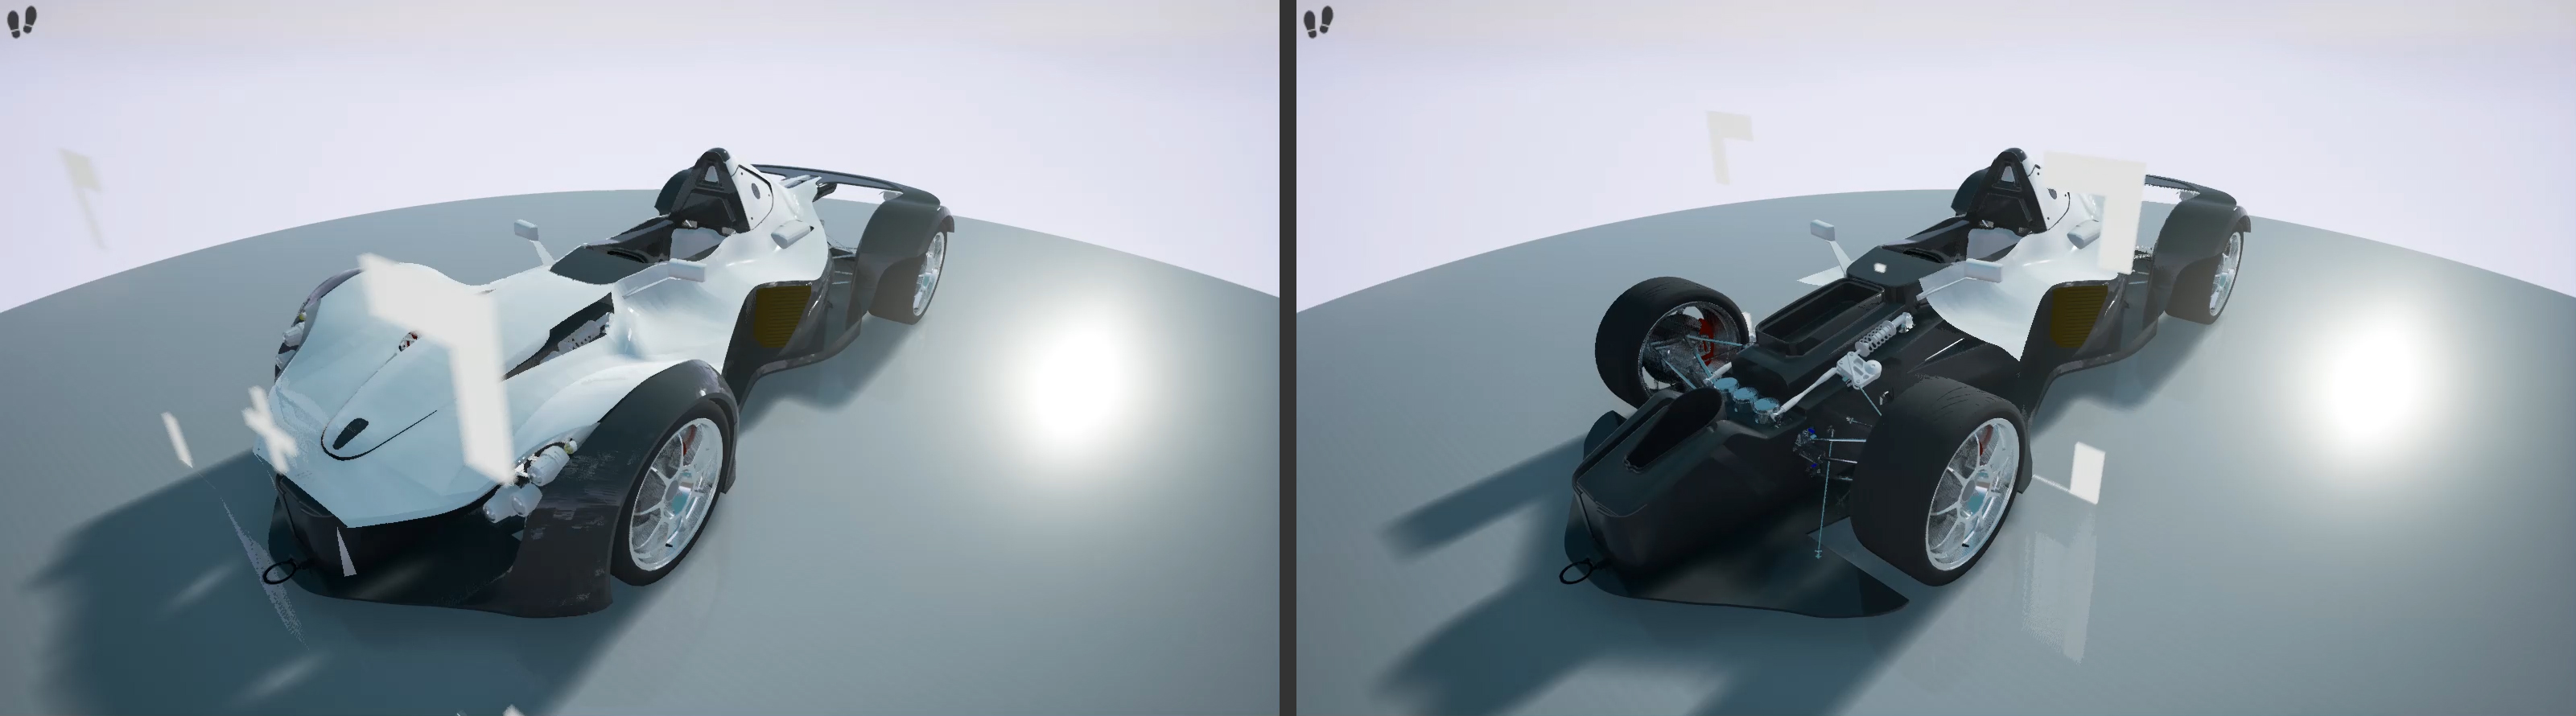
Grabbable sequence allow users to interaction with 3D objtects in VR Viewer by linked these objects with animation sequence, In he image below, create animation rotation for the control arm and saved it as sequence, then linked this sequence to arm object used grabbable sequence tool, the arm can be picked up and control them up and down in VR Viewer.
To make grabbable sequence for an object, check this tutorial which demonstrates the following steps:
- Select Make Grabbable Sequence from Interactions menu
- The message below will appear, select the object to make grabbable (create an Animation Sequence for it before) then click

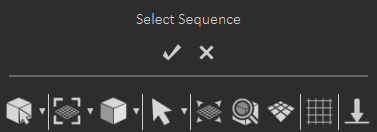
- Select the Animation Sequence for the object from Sequence Library then click
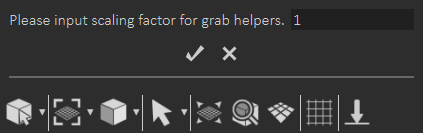
- Finally, input scaling factor for object


Clipping Group
Create Clipping Plane
Also known as Section Plane in VR, it can be static, animated, grabbable, and turned on/off dynamically.
Make Clippable Object(s)
Select objects to be clipped, and check this demo tutorial.
Disassembly and Docking Group
Make Dock and Target
Make dockable objects and interact with them in 3D scenes and projects. Docking and target allows the user to place moveable objects in a certain predefined manner upon interacting with them. Before that the Target Node needs to be made Grabbable from Interactions menu. The docking systems in SimLab VR Studio offers a great interaction method with components. Check VR dock and target video tutorial.
|
|
|
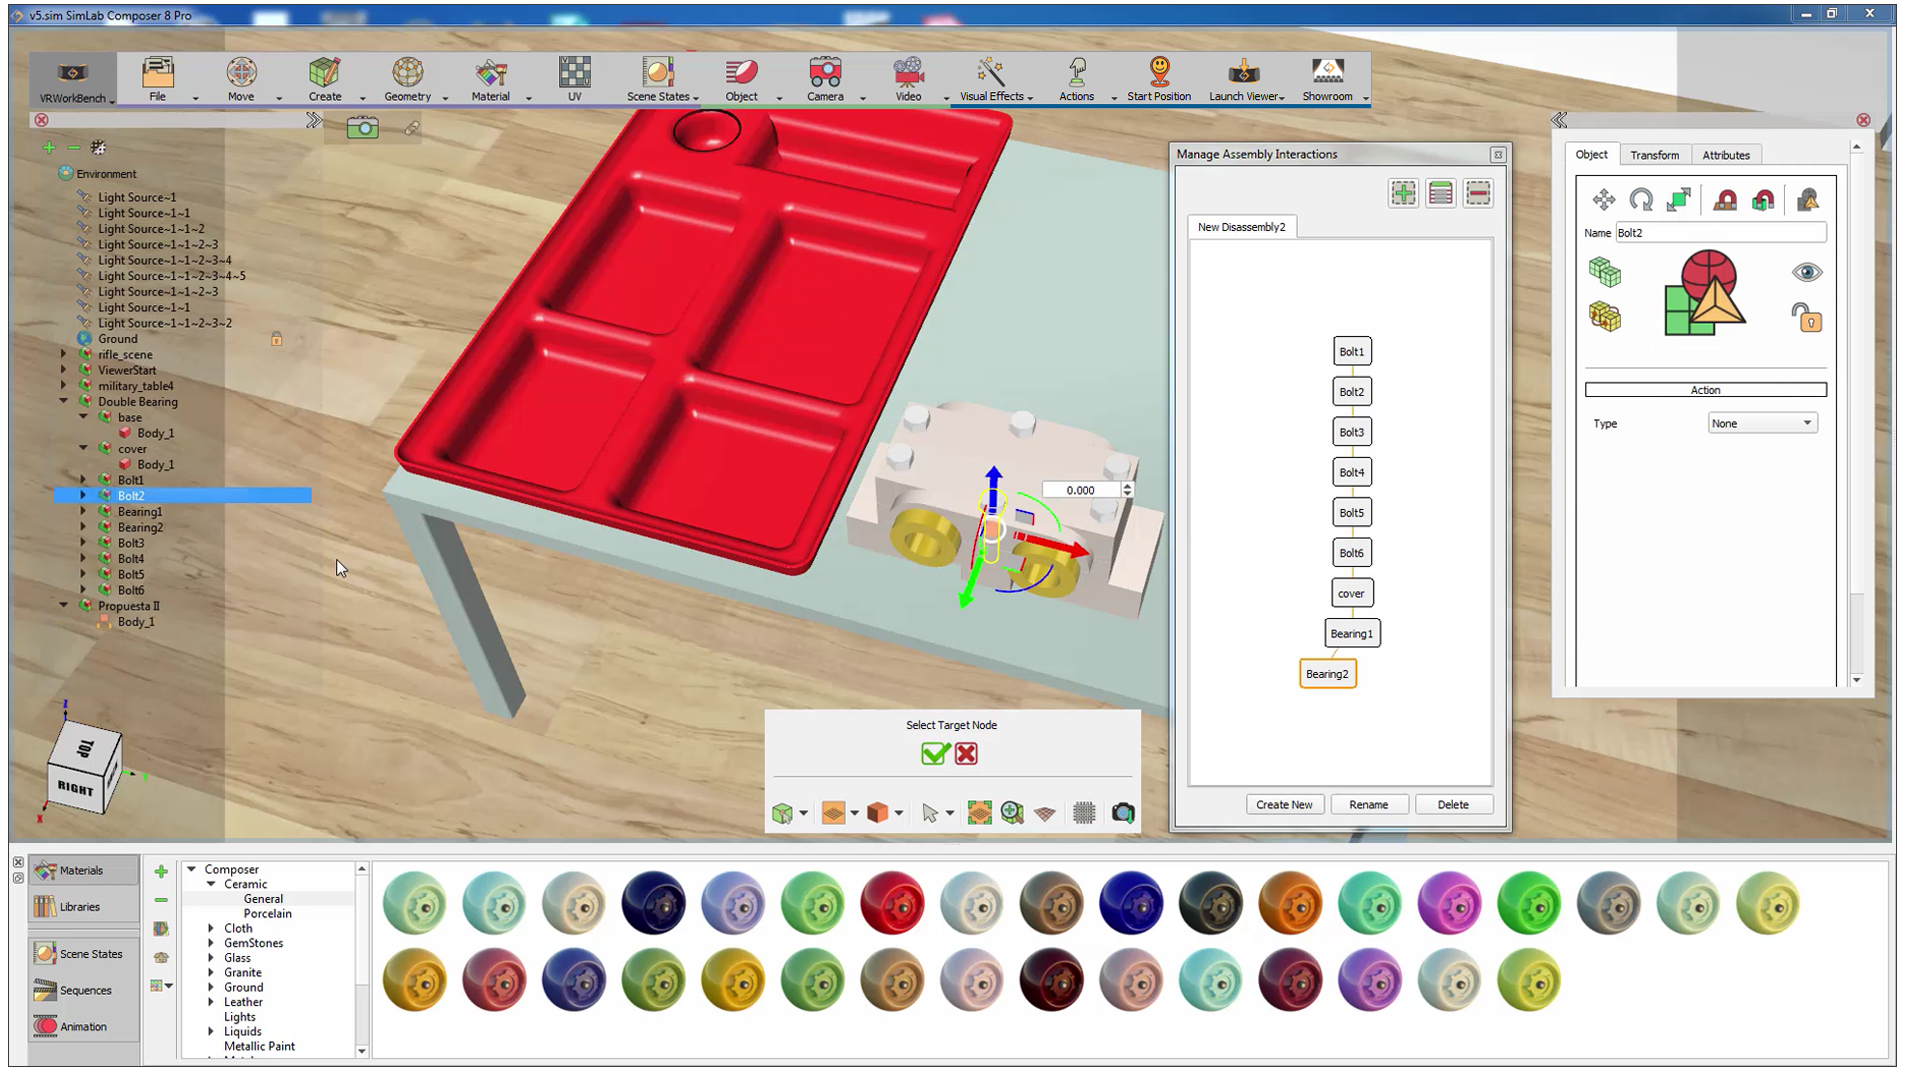
In the objects tree the icons for Grabbable and Docking models change in shape.
Remove Dock and Target
To remove the dock and a target:
- From Interactions menu » Click Remove Dock and Target.
- Select the object to remove dock and target.
Manage (Dis)Assembly Process
In the assembly management window you can graph and connect nodes based on the order you want them to be disassembled.
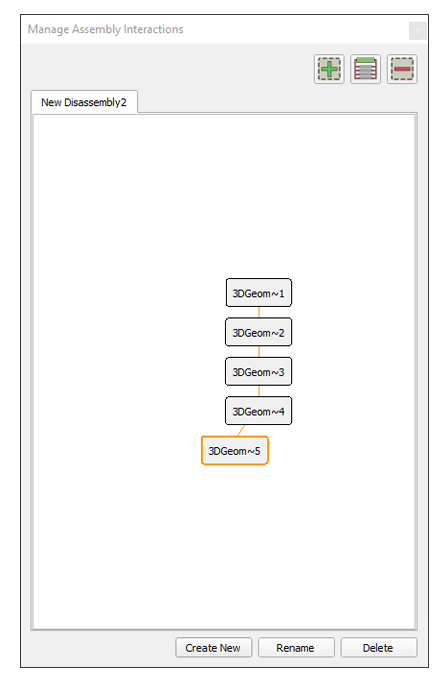
The assembly management interactions, settings:
Industries Solutions
SimLab VR Studio is continuously adding new features to make the experience of its users more joyful, and easier.
Door/Cabinet Animation
Automatically creates animation for an object depending on its type., for scenes with multiple objects of the same type.
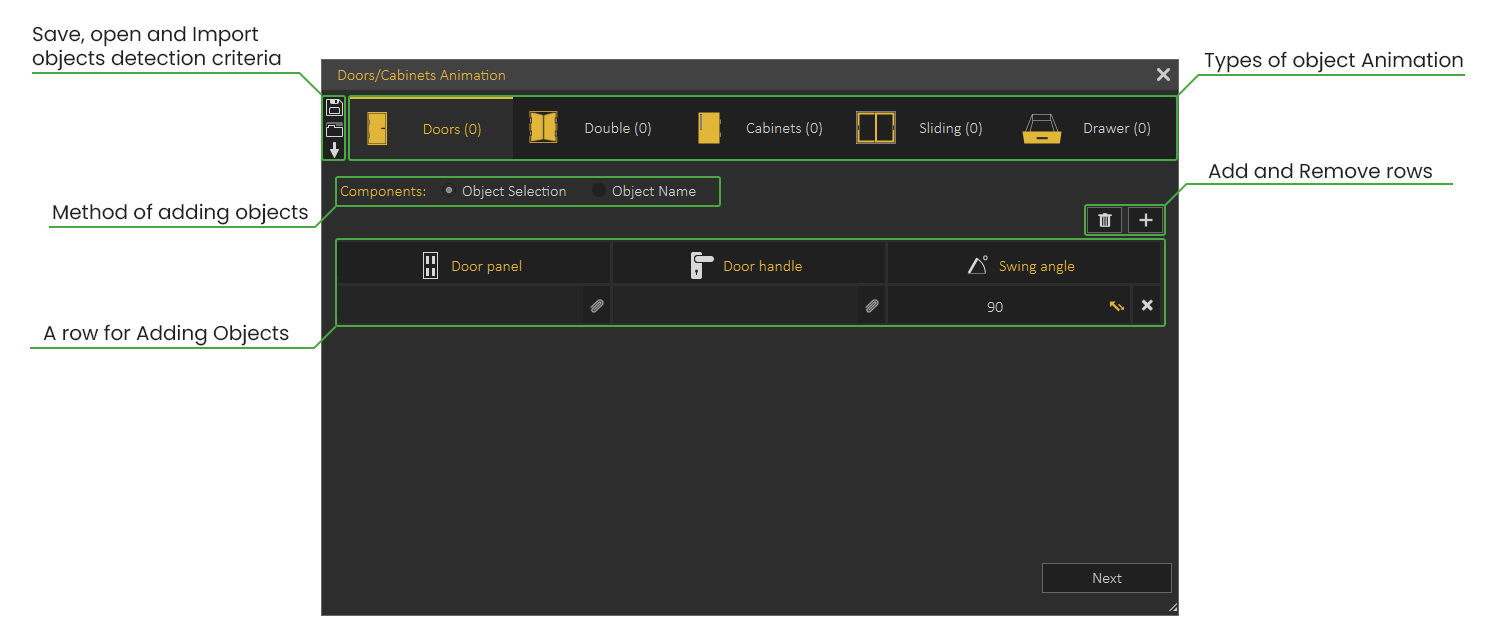
There are two main methods for defining which objects to animate:
Object Selection
With this method, the user will manually select the components in the scene to create an animation for.
This method is suitable for scenes with small number of objects. Check this tutorial on automatic animation for Doors / Cabinets using Object Selection Method
Object Name
With this method, the user will type in the name of components, and SimLab VR Studio will automatically find them in the scene and list them.
This method is more suitable for scenes with large number of objects to animate. Check this tutorial on automatic animation for Doors / Cabinets using Object Name Method
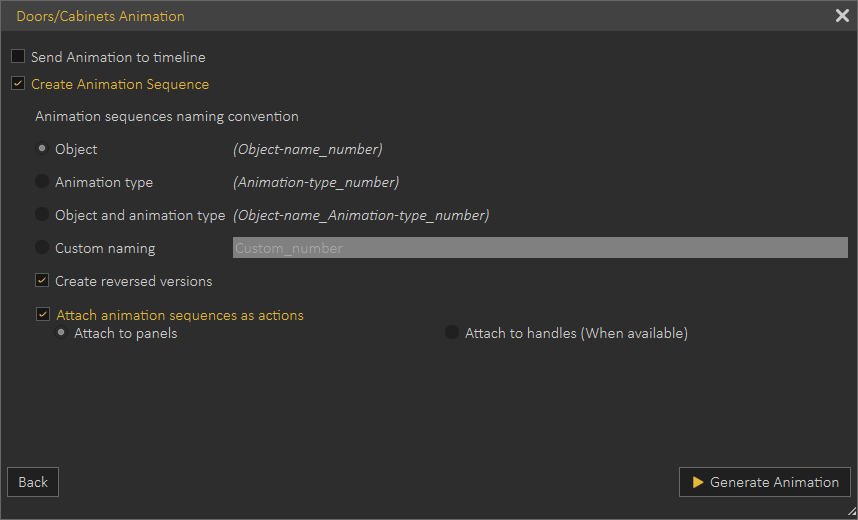
Doors and Cabinets Settings
- Send animation to timeline; Enabling this option sends the created animation as keyframes to the timeline, this could be helpful when you intend to combine multiple animations or modify the animation further.
- Create animation Sequences; This option creates separate animation sequence for each object, those sequences can then be used in 3D PDF or in VR.
- Create Reversed Versions; Reversed version of an animation allows the object to go back to its original state, for example, if you have created an animation for a door opening, a reversed version of the door closing will be automatically created.
- Attach animation Sequences as actions; With this option enabled, the scene is completely ready to be used in a 3D PDF or a VR experience, since all the objects would have their animation attached to them as actions.
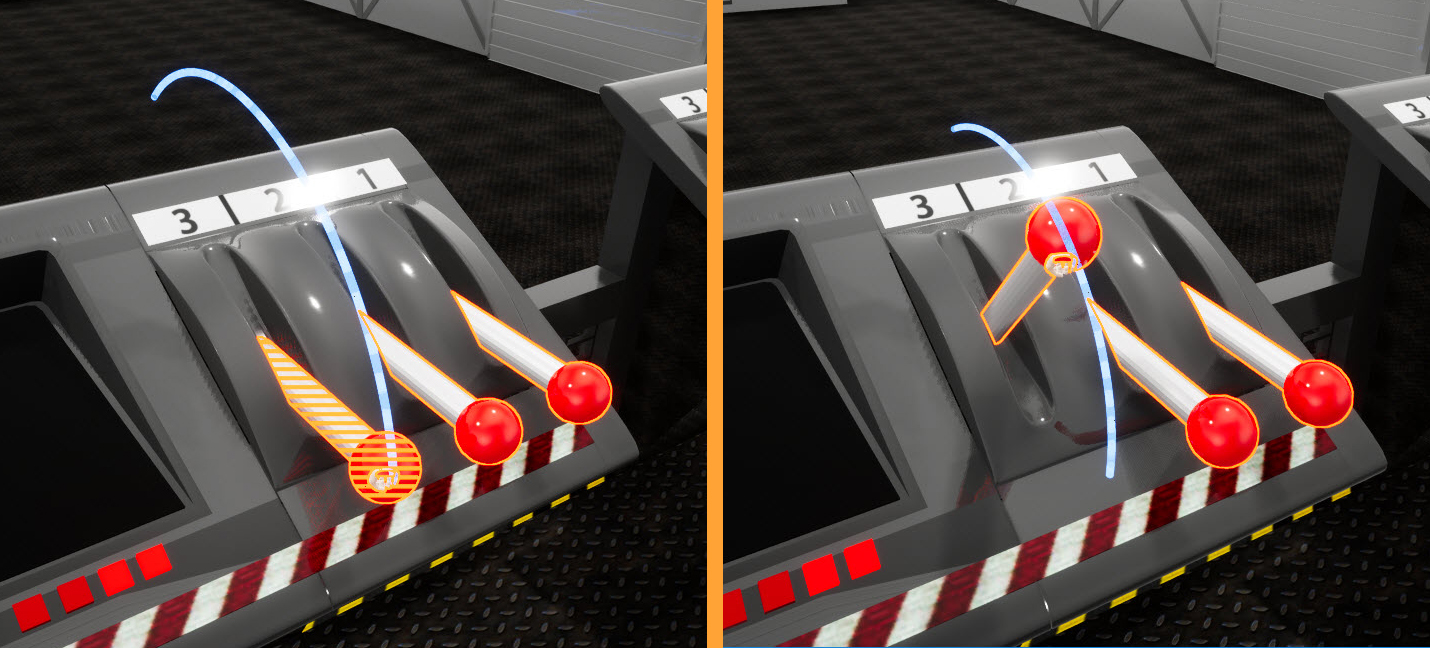
Visualize scene options
Visualize scene options (scene states and animation sequences) by displaying them as entities in 3D world for easier and practical VR experiences.
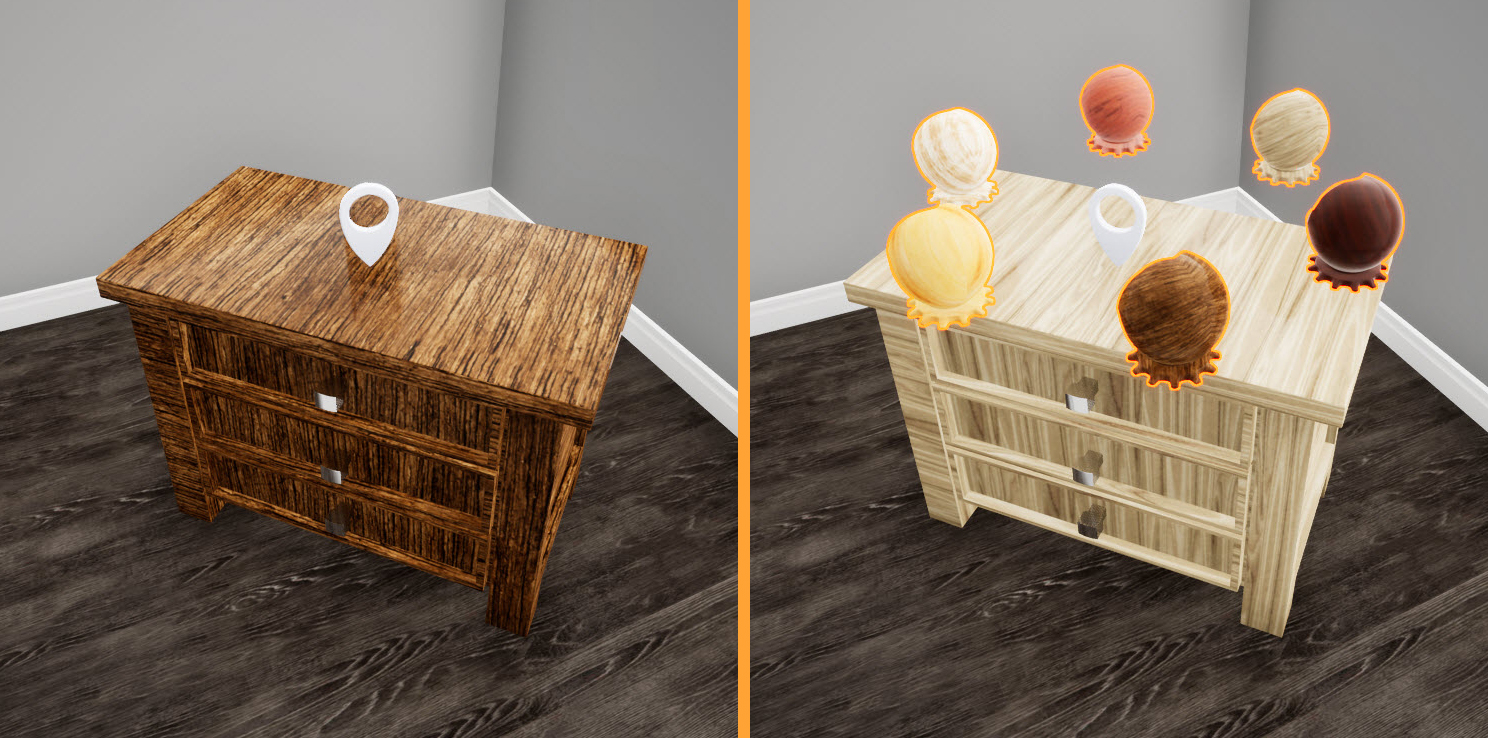
Press "3" on your keyboard in VR Viewer to show available Pins, "LBUTTON" to select Scene States/Animation Sequences which appear as entities from the Pins.

| 1 | |
| 2 | Remove a Trigger and |
| 3 | The list of Triggers. |
| 4 | Activate Scene States library to drag-and-drop Scene States into Pin nodes. |
| 5 | Activate Animation Sequences library to drag-and-drop Scene States into Pin nodes. |
| 6 | Add a Pin node to the current diagram, a Pin holds scene options chosen by the user. Once added, you can drag-and-drop either Scene States or Animation Sequences from their corresponding libraries to it. |
| 7 | Remove the selected Pin node from its diagram. |
| Watch an online video tutorial about how to visualize scene options. | |
| Drag-and-drop Scene States/Animation Sequences here from their corresponding libraries. | |