File Menu
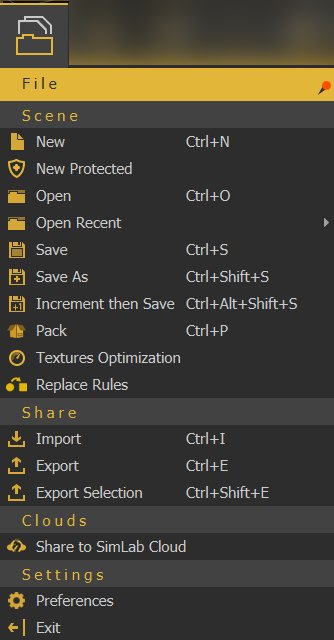
Scene
New/New Protected
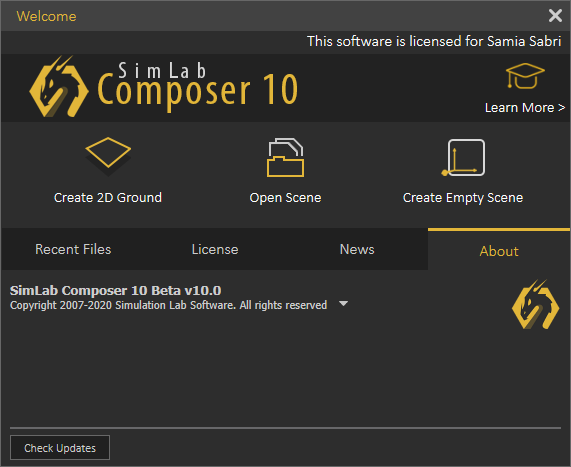
Displays Welcome (new scene dialog), where the user can select to create a 2D ground scene, open a scene, or create an empty one. Images for the last opened scenes are displayed in the Recent Files tab for quick access.
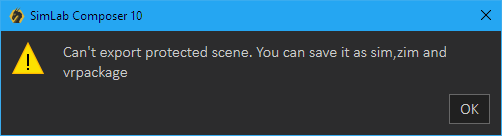
New Protected option is the same as creating a new scene, except that this scenes can only be saved as sim, zim, or vrpackage. If the user attempts to export it into any of the available formats, the below message will appear. This is done to protect users property 3D models from being used by others.
Open/Open Recent
Opens "Open Composer file" dialog, where the user can brows to a *.sim file to open. The Open Recent on the other hand will show a list of the last few *.sim files that were opened.
Save/Save As
Opens Save Composer file dialog, where the user can select the name and location for the created *.sim file.
Pack
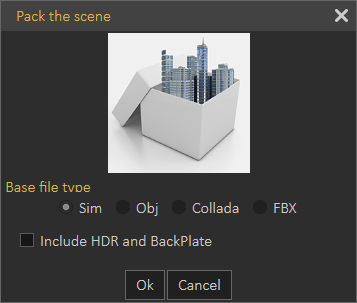
Displays Pack the scene dialog, in which the user can create *.zip file based on the selected file format from the list. The packed *.zip file will include all 3D models in the scene, along with their materials and textures. HDR files and BackPlates can also be included, if the user checks this option. Packing a scene is necessary to share 3D scenes created in SimLab VR Studio with others for use in other applications.
Textures Optimization
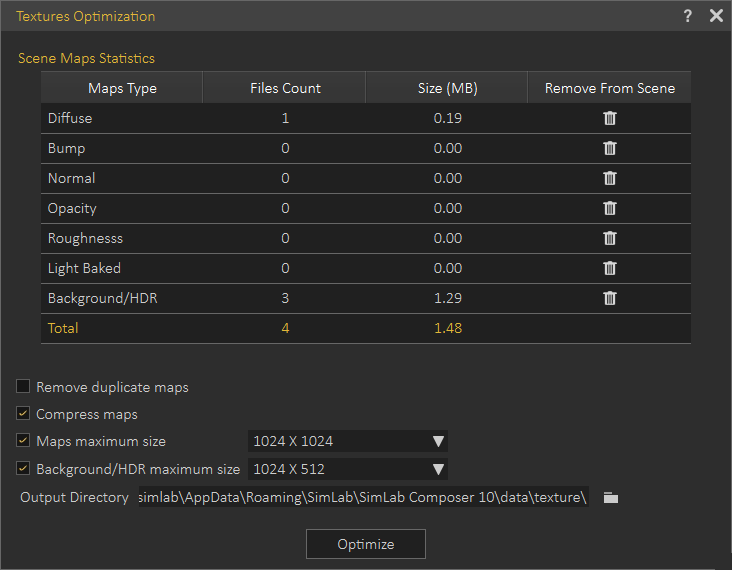
Opens the corresponding dialog shown below, which can be used to reduce the number of textures and their size in the scene.
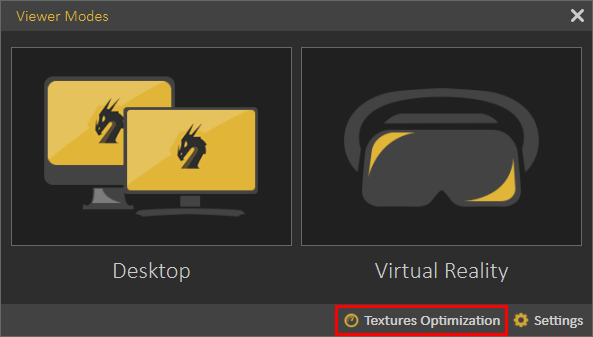
The dialog can also be accessed from Show in Viewer dialog, under VR Viewer menu.
In the Scene Maps Statistics Table the number of textures and their size for each type of textures, is displayed. Clicking delete Icon in one of the rows, all the textures of that type will be removed from the scene.
For more information about Texture Optimization, refer to this video, and for information about scene optimization in general refer to this article.
Texture Optimization options:
Remove Duplicate Maps: Removes any duplicate textures and have the materials use a single shared texture.
Compress Maps: Uses a compression algorithm to reduce the size of the texture while maintaining its resolution.
Maps Maximum Size: Sets a maximum resolution for textures, any textures excceeding that resolution will be resized to the maximum size.
Background/HDR Maximum Size: Similar to the Map Maximum Size tool, but applies to Background and HDR images with different height to width ratio.
Output Directory: Determines where the processed files are going to be placed. This option is important to preserve the original textures, in case you want to use them in their original state.
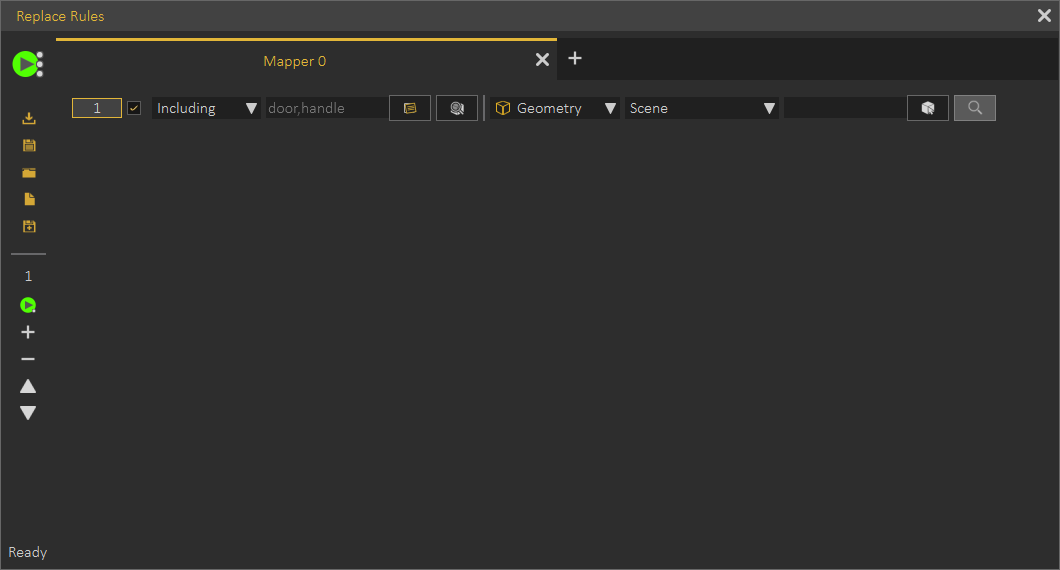
Replace Rules
Share
Import / Export
Open the corresponding Import/Export Geometry dialog. The import function enables the user to build scenes of 3D models from different file formats, the export function, on the other hand, enables the user to share the created 3D scenes with others in different formats.
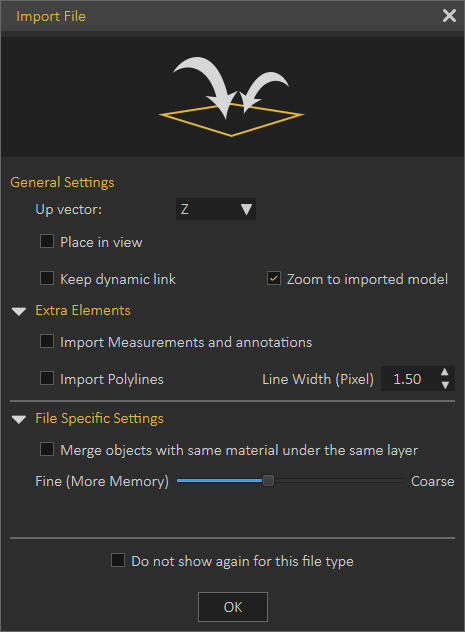
In the Import Geometry dialog, the user can browse to 3D geometry to import. Clicking Open displays the Import File dialog, where the user can set different options for 3D import. General Settings include Up vector; Z axis is selected by default. The user can choose a different access depending on the design of the imported 3D geometry.
Place in view, places the import geometry in the current view, rather than the center of the scene. Keep dynamic link, when checked keeps 3D geometry linked and automatically updates to any changes in the home CAD application.
Zoom to imported model, imports the
object to the center of the scene and zooms the camera to it.
Import Measurement and annotations, will import these elements with the 3D geometry.
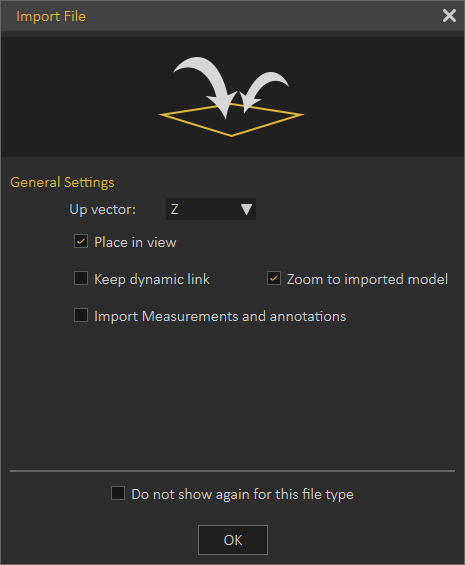
The Import File dialog will have more elements depending on the imported file format. The image on the left below, is for 3D PDF file import, while the one on the right is for DWG file import.
|
|
 |
Export function will open the Export Geometry dialog, and will enable the user to export the 3D model to any of the supported file formats. For a list of supported Import/Export file formats, visit this page.
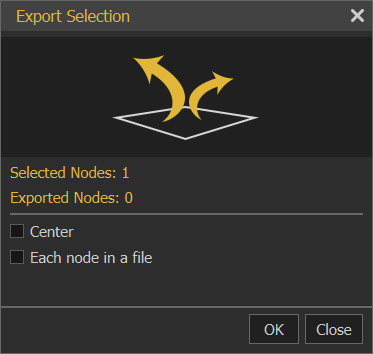
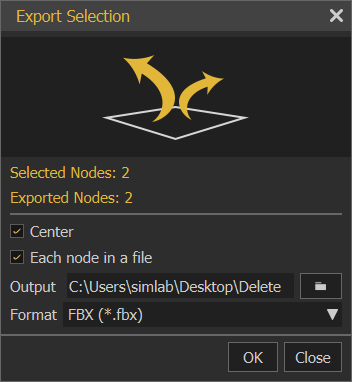
Export Selection
The user can select specific nodes/objects from the scene to be exported. The objects will be exported to the specified folder with their names in the Objects Tree.
 |
 |
Clouds
Share to SimLab Cloud
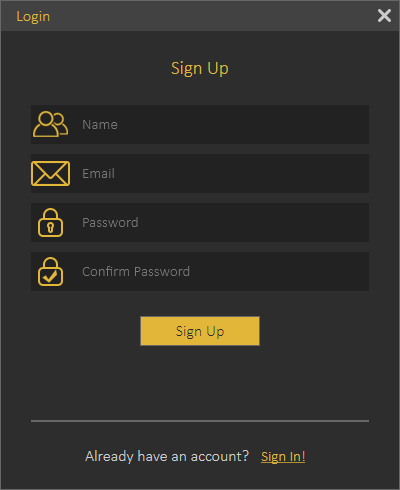
This function enables users to share their 3D scenes as VR Package on SimLab cloud. The first time a user selects this option the Login dialog will appear, where the user can sign in/sign up.
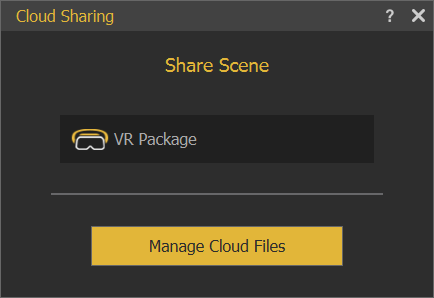
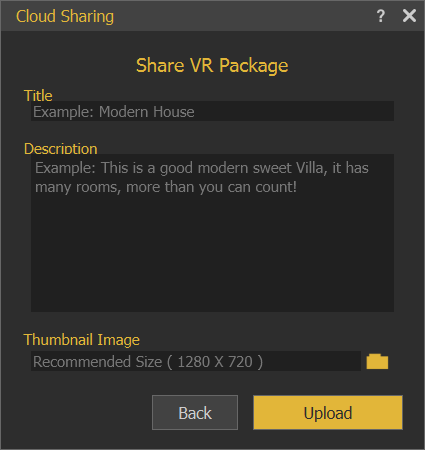
Once the user logs in, the Cloud Sharing dialog will appear, allowing the user to share created 3D scenes with full features as VR Package. Full features mean all created animation, scene states, actions and more. By default a user will start with a trial sharing space of 2 GB valid for 3 months.
|
|
|