
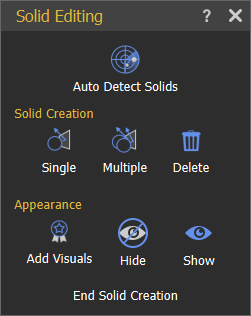
Solids Menu
To create a simulation the first step is to convert 3D design to solid parts that can be physically simulated. This can be done either manually by selecting the parts and converting them to solids, or by clicking on Auto Detect Solids which will automatically detect the objects in the scene and convert them to solids.
- Auto Detect Solids
- Solid Creation
- Appearance
The Geometries Tree and the Models Library are associated with the Solids Tab. Once the Solids Tab is activated, they will be displayed on the left-side and bottom of the application window, respectively.
Auto Detect Solids
Automatically identify and classify a model's geometries and assembles into solids, by running an algorithm, where each solid contains either one geometry/assembly or a group of geometries/assemblies.
In the image below the simulation workspace with an imported model is shown. Solids in the model has been detected and shown in the Solids Tree.
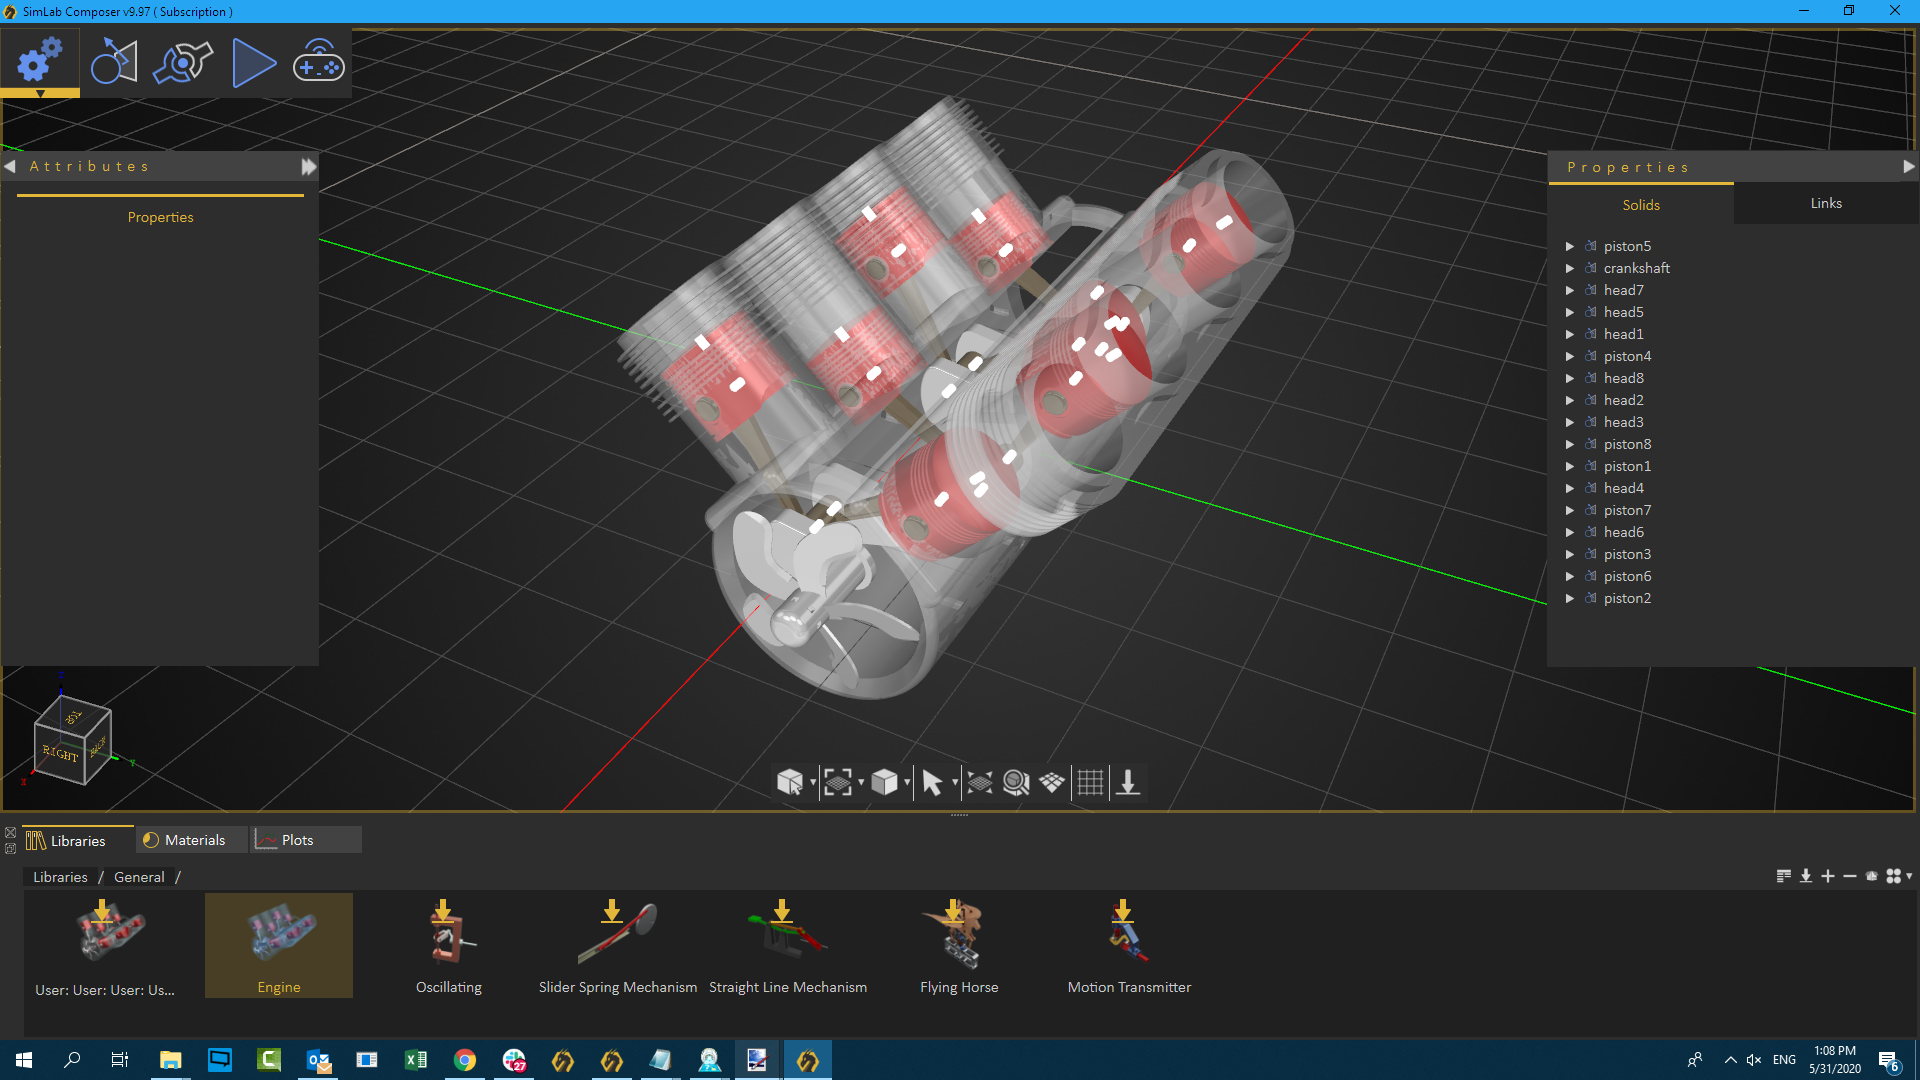
If the imported model is from an analytical file format like .STEP, this algorithm makes use of the solids hints already embedded in an object to identify it as a solid.
In some cases, the automatic detection method may not yield required results, the manual method for creating solids gives the user more control over solid creation.