
Introduction
SimLab Composer allows using Python, and Java Scripts to automate processes, both scripts automation are supported in two modes:
- Command line (for batch processing for a large number of files). This includes command line without scripting using -ie command, and with scripting using Python, and Java scripts.
- Interactive mode (from inside the GUI of SimLab Composer)

Scripting is supported in the Ultimate edition of SimLab Composer
Command line without scripting
Open command line window, and go to the directory where SimLab Composer was installed. The default installation directory is "C:\Program Files\SimLab\SimLab Composer 10>"
To run import/export functions in SimLab Composer, go to SimLab Composer installation directory below.
C:\Program Files\SimLab\SimLab Composer 10>
Type Sim.. then start clicking Tab button, until SimLabComposer.exe appears.
C:\Program Files\SimLab\SimLab Composer 10>SimLabComposer.exe
Type in the code -ie <import_file> <export_file>
With actual files locations the below line will convert cube.obj 3D models into cube.skp in the indicated folders.
-ie C:\Users\simlab\Desktop\Delete\cube.obj C:\Users\simlab\Desktop\Delete\cube.skp
Command line Python Scripts
Python scripts can be run from the command line by using the following command
<!-- HTML generated using hilite.me --><div style="background: #ffffff; overflow:auto;width:auto;border:solid gray;border-width:.1em .1em .1em .8em;padding:.2em .6em;"><pre style="margin: 0; line-height: 125%">SimLabComposer.exe -py <span style="color: #a61717; background-color: #e3d2d2">“</span>File.py<span style="color: #a61717; background-color: #e3d2d2">”</span>
</pre></div>
So if the user named the first script as example.py, and saved it in folder C:\Scripts, The user should use the following command
<!-- HTML generated using hilite.me --><div style="background: #ffffff; overflow:auto;width:auto;border:solid gray;border-width:.1em .1em .1em .8em;padding:.2em .6em;"><pre style="margin: 0; line-height: 125%">SimLabComposer.exe -py <span style="color: #a61717; background-color: #e3d2d2">“</span>C:<span style="color: #a61717; background-color: #e3d2d2">\</span>Scripts<span style="color: #a61717; background-color: #e3d2d2">\</span>example.py<span style="color: #a61717; background-color: #e3d2d2">”</span>
</pre></div>
Passing arguments to Python Scripts
Passing arguments to a script makes it dynamic, and reusable without the need to change its code.
<!-- HTML generated using hilite.me --><div style="background: #ffffff; overflow:auto;width:auto;border:solid gray;border-width:.1em .1em .1em .8em;padding:.2em .6em;"><pre style="margin: 0; line-height: 125%">
scene =Scene()
runtime =RunTime()
scene.reset()
fileName= runtime.args.getAsString("-path")
scene.importFile(fileName)
Interactive Scripting - Running Python script interactively
The user can run Java Scripts interactively in different ways:
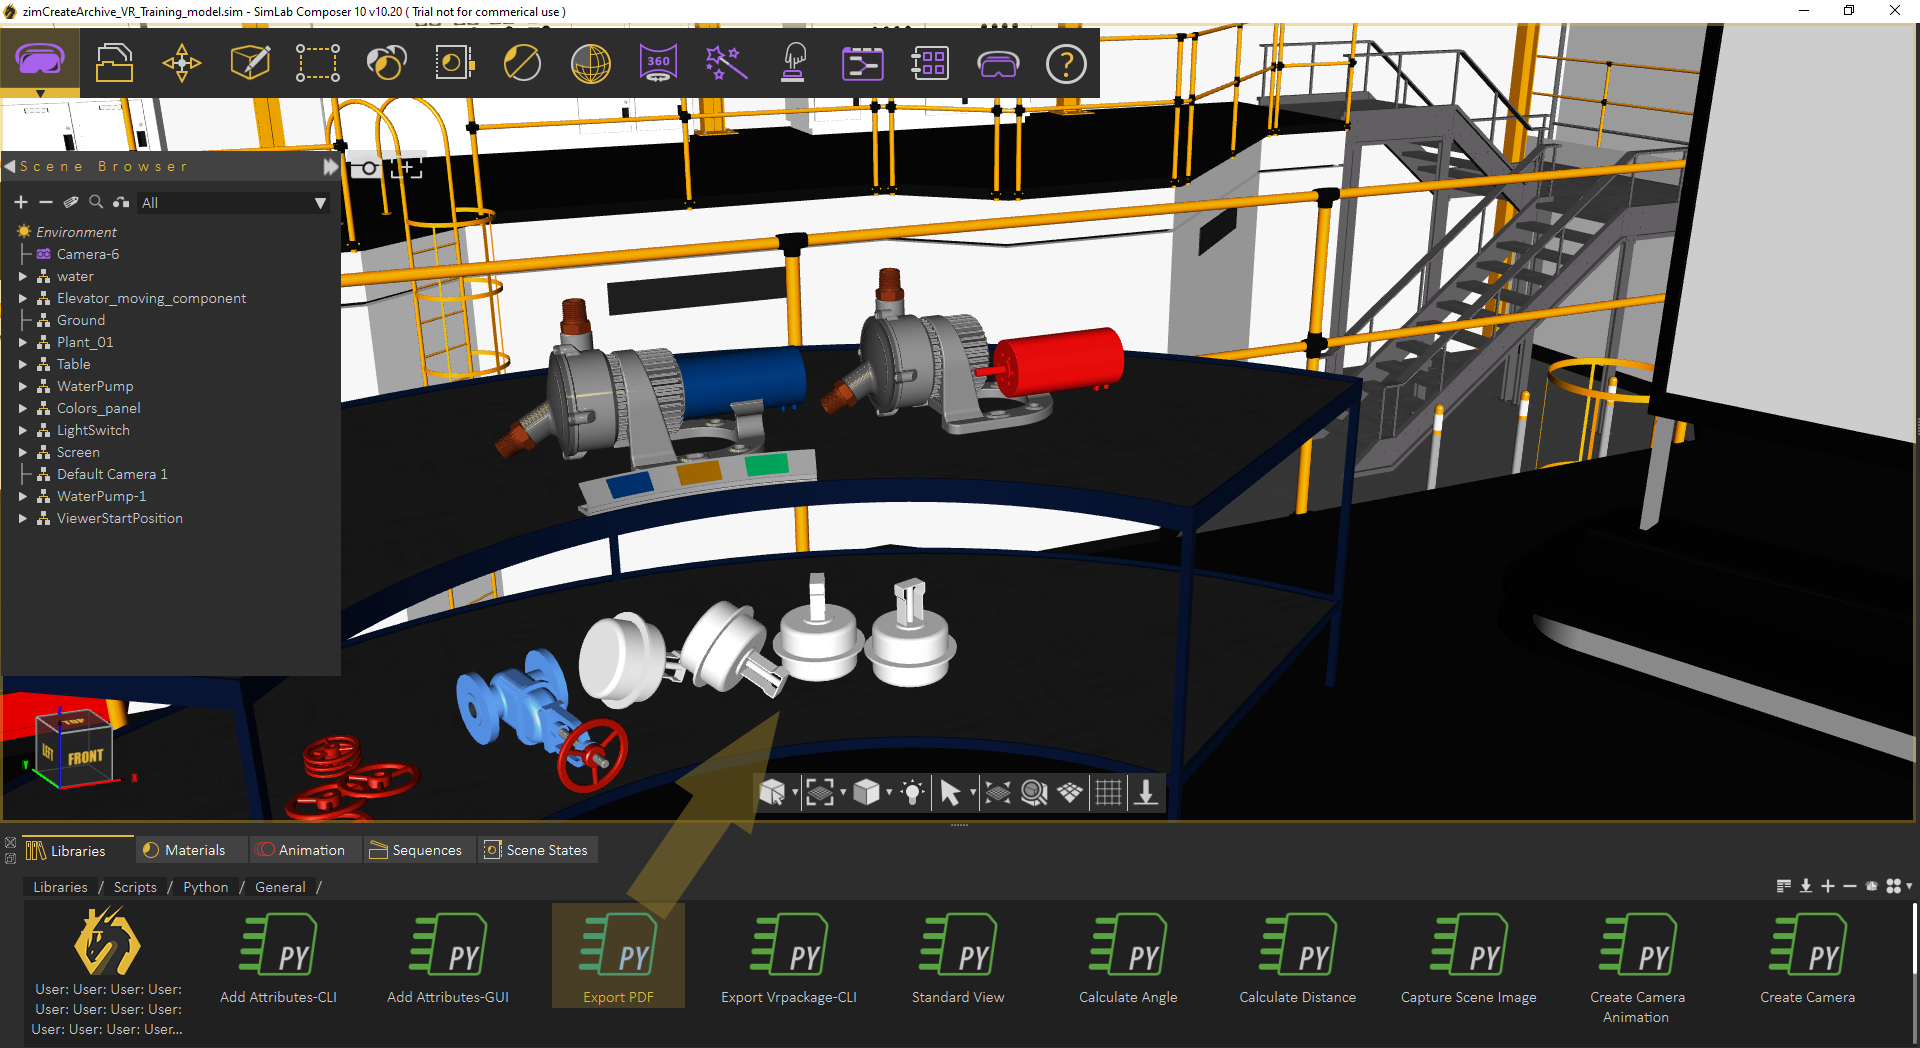
- Select a script from the scripting library, drag it, and drop it on the 3D area

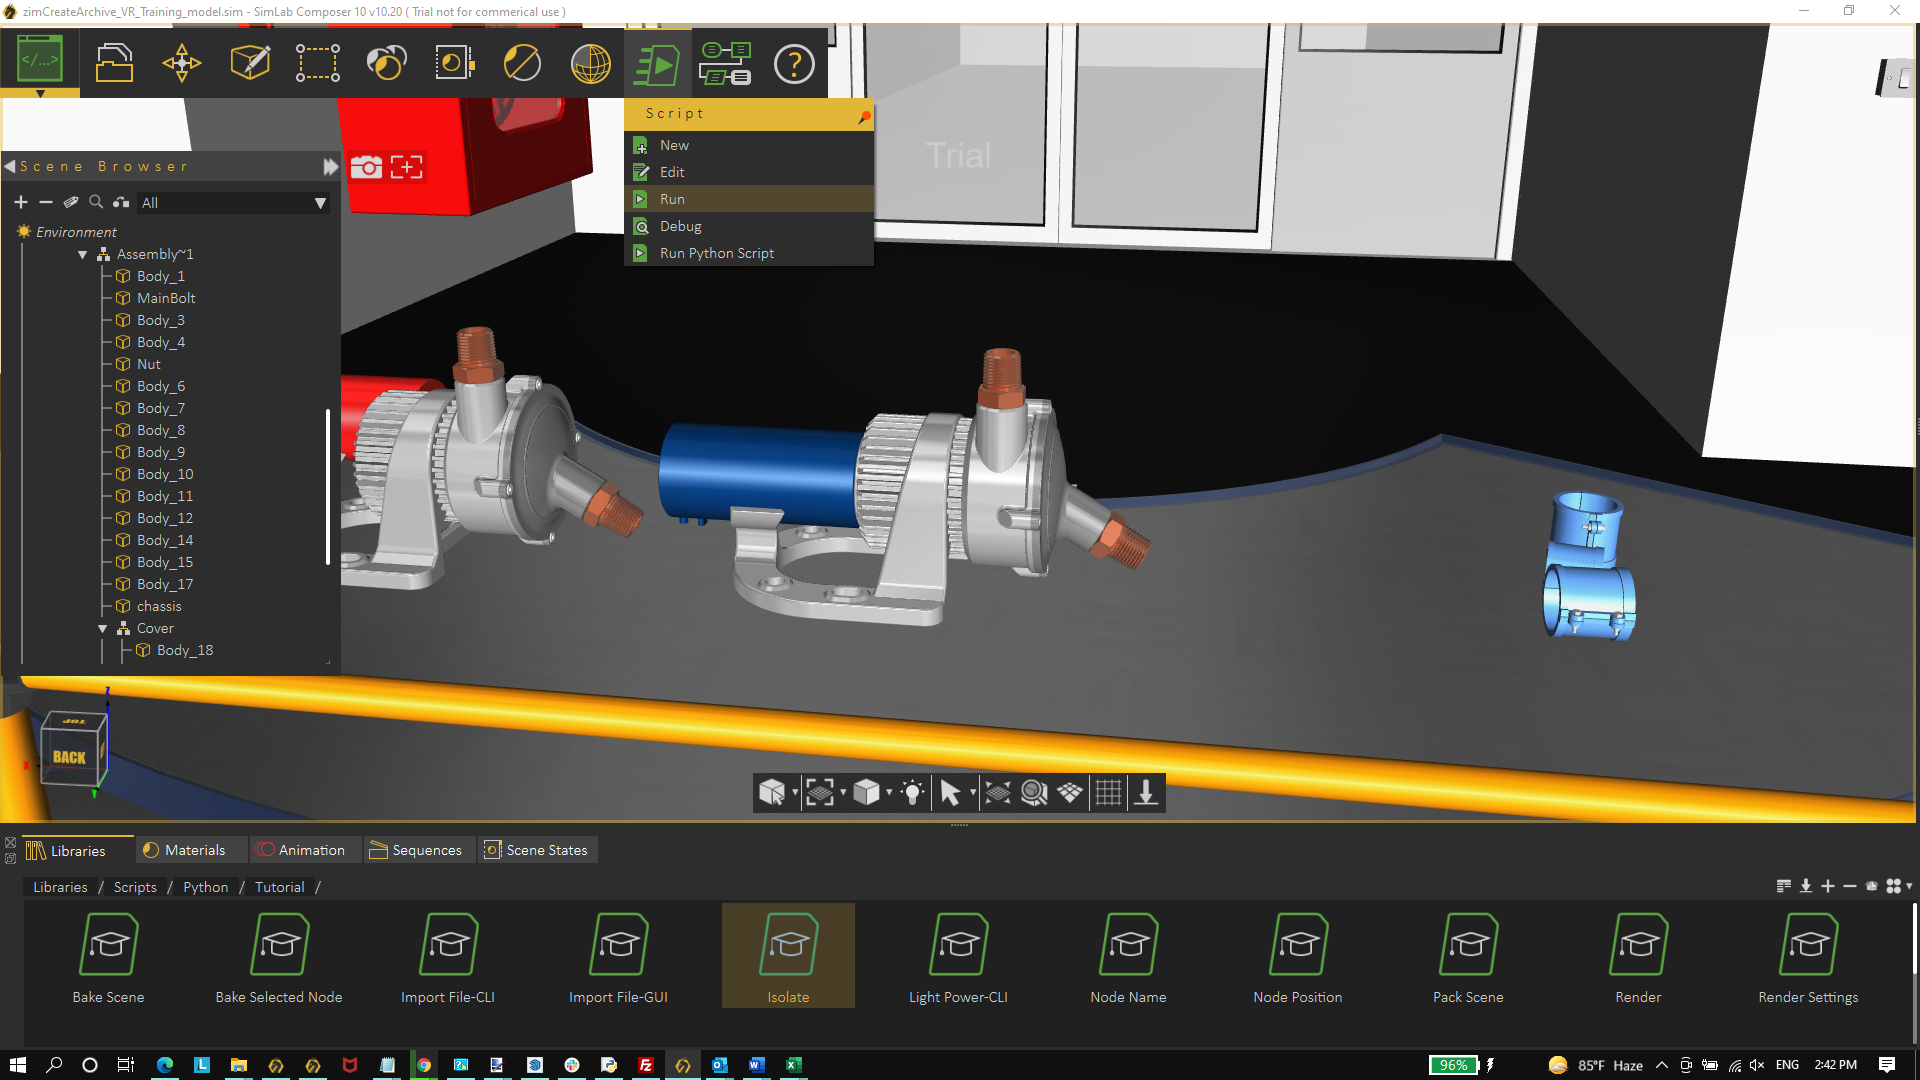
- Select a script from the library, then from the Script menu, click Run
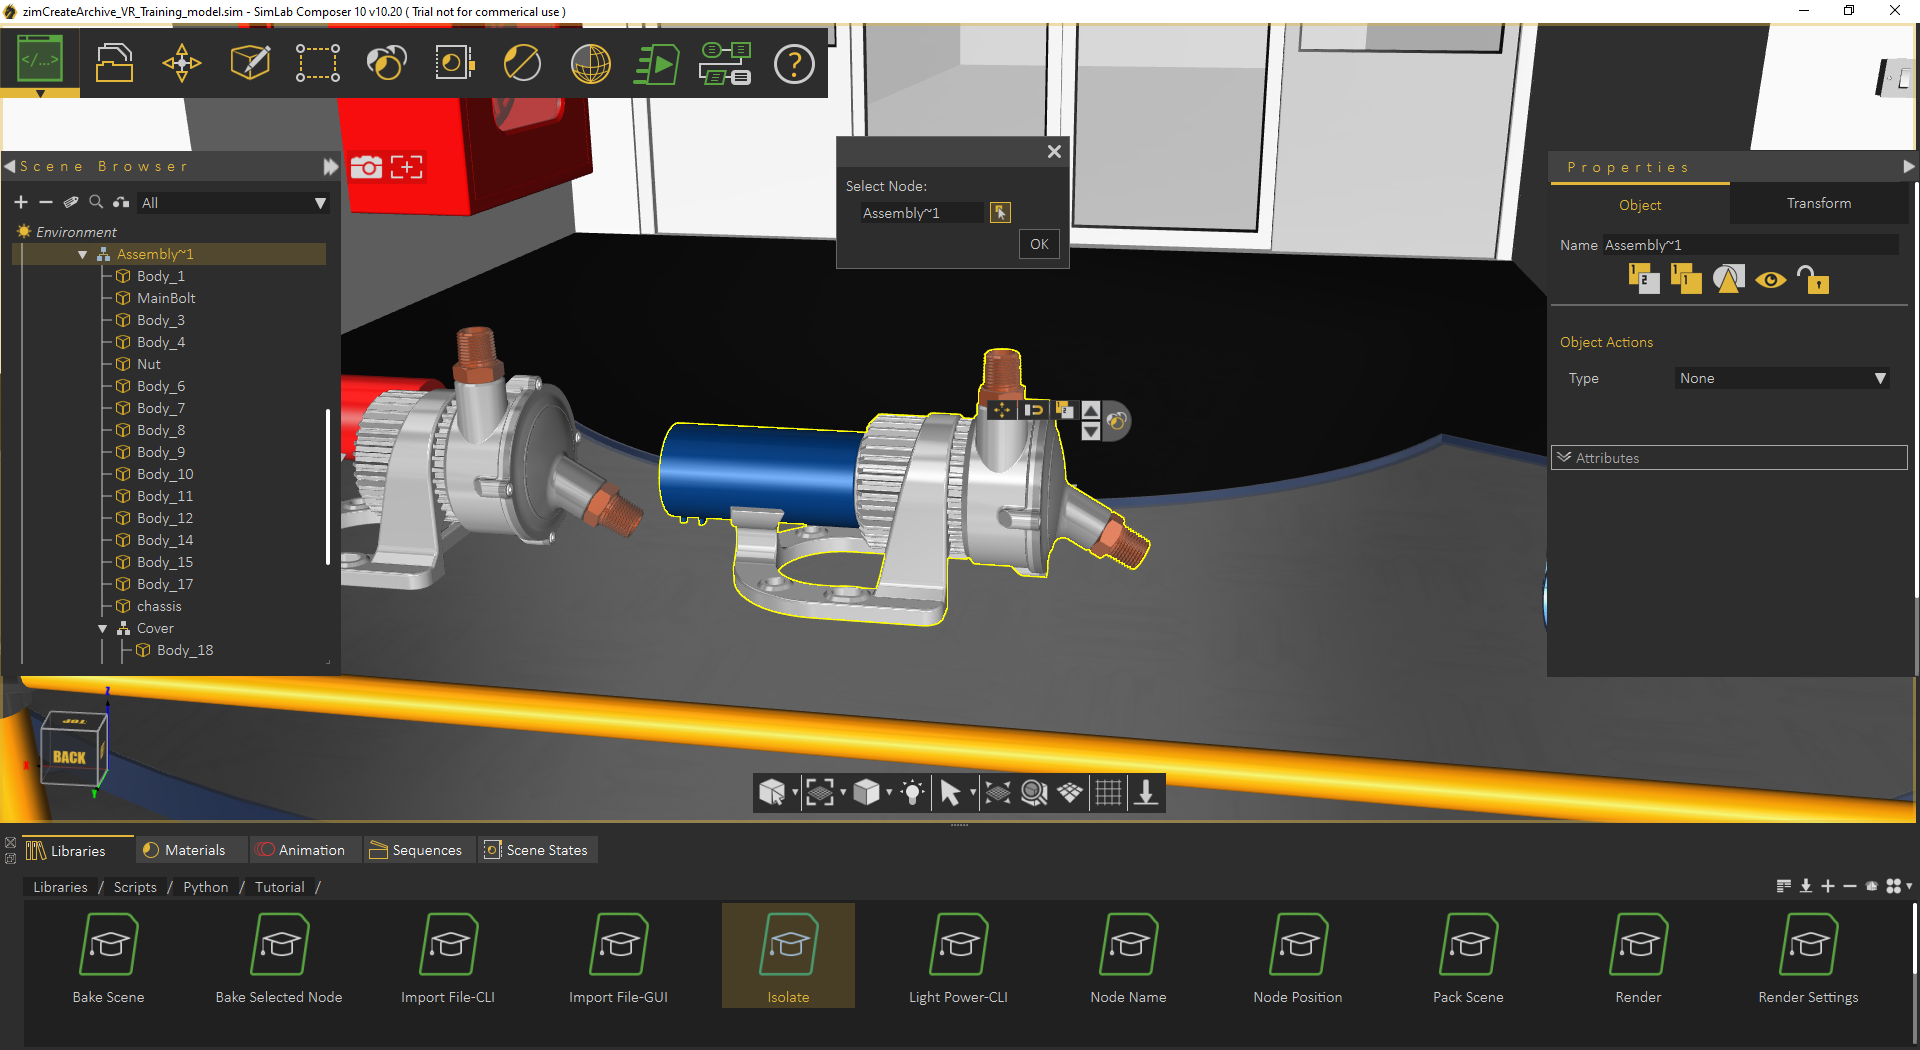
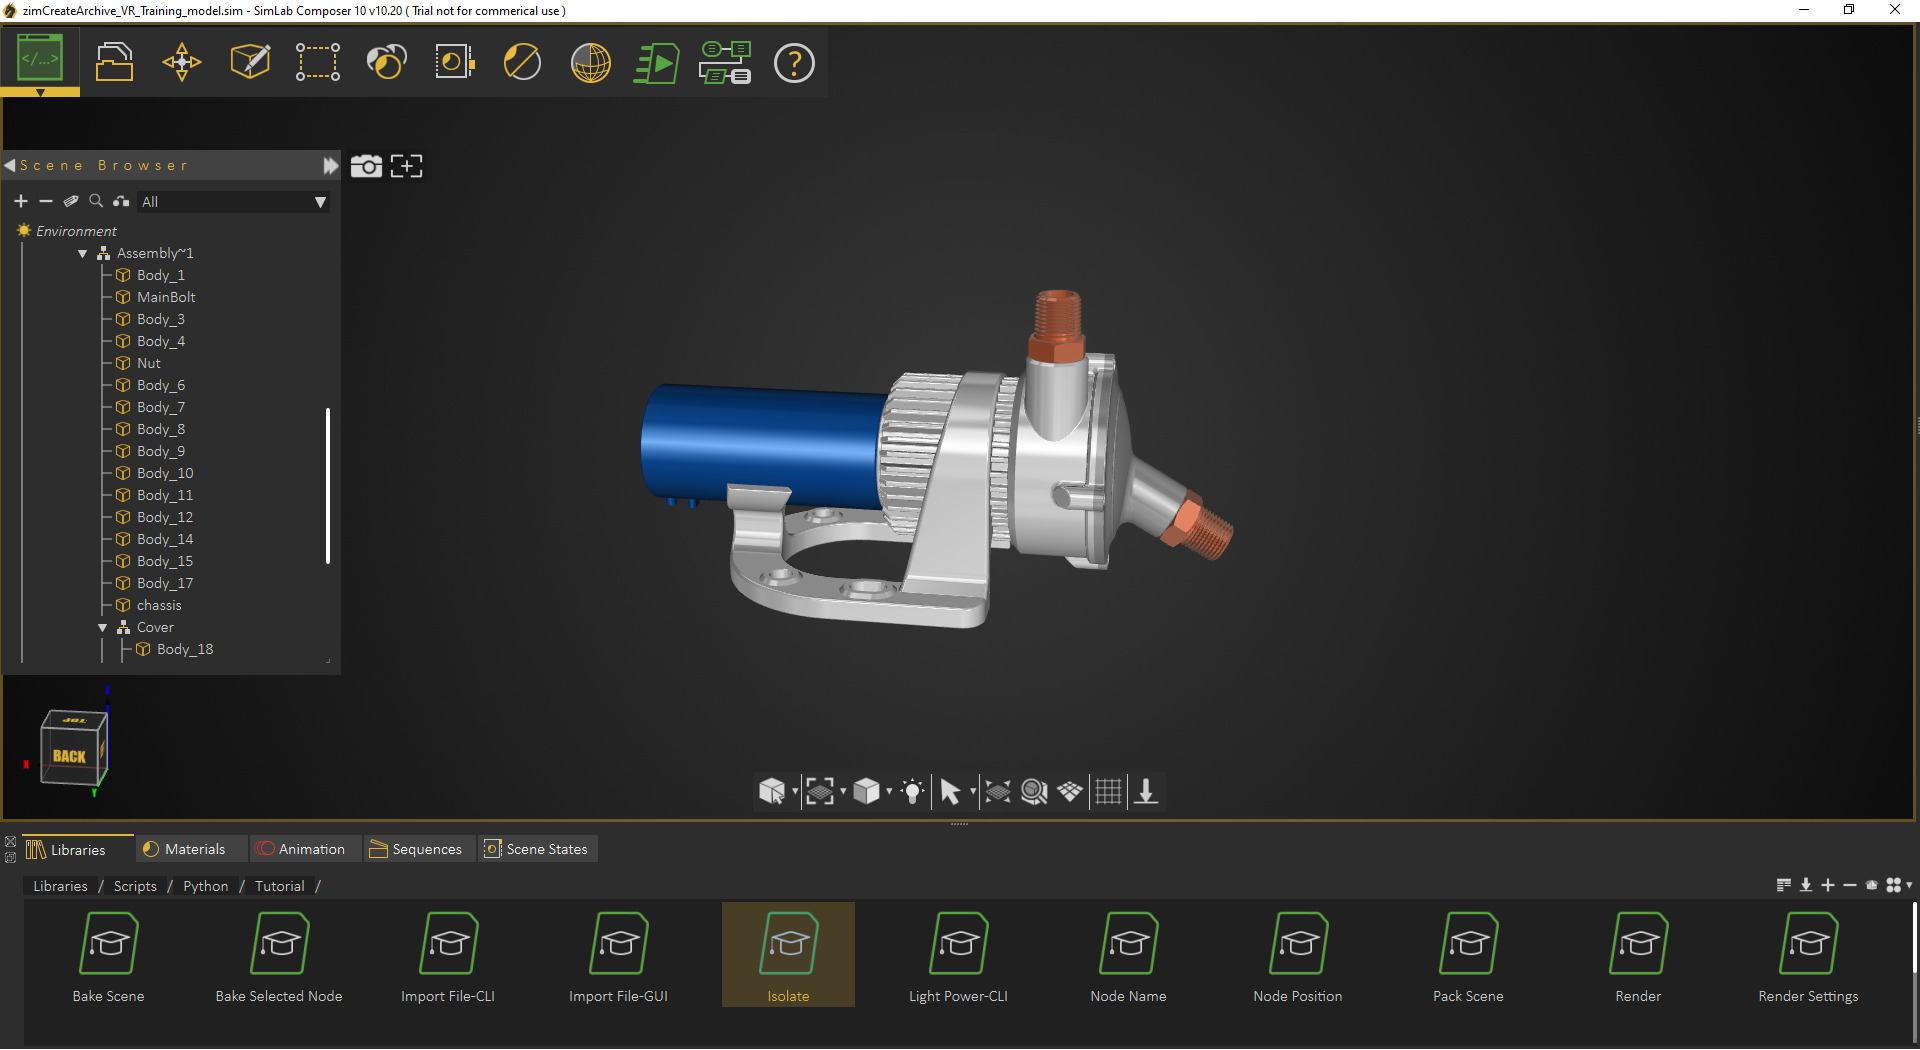
- Select the node/geometry to Isolate from the 3D area or the Object Tree, then click OK.


My first Python script / Python Scripts using GUI input
The following script, gets location to save rendered image in, using a GUI dialog. Renders the current scene, saves the resulting image in the selected location, and finally displays a dialog indicating that rendering is done.
<!-- HTML generated using hilite.me --><div style="background: #ffffff; overflow:auto;width:auto;border:solid gray;border-width:.1em .1em .1em .8em;padding:.2em .6em;"><pre style="margin: 0; line-height: 125%">
from simlabpy import *

scene = Scene()
runtime = RunTime()
render_path = runtime.ui.getSaveFileName("Exported rendered image location:", "", "*.jpg;;*.png")
scene.render(render_path)
runtime.ui.alert("Rendered image was created.")
For a list of supported Python scripting commands visit this page