
External Connection
 Open External Connection
SimLab Composer 14 introduces WebSocket support, enabling seamless integration with external systems allowing it to work with external hardware, co-simulation engines, and websites, unlocking numerous possibilities.
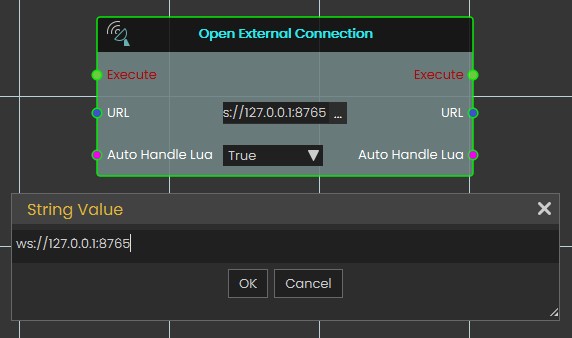
The node Open External Connection opens a WebSocket connection.
The WebSocket nodes (Open External Connection, Send Message, and ReceiveOn Message)Message Received) are exclusively available in the Ultimate Edition.
The Open External Connection node enables the opening of a WebSocket connection to an external system. When the Auto Handle Lua is set to true, incoming messages containing Lua scripts will be automatically executed. This allows for real-time interaction between SimLab Composer and external systems, such as co-simulation engines or hardware, with the ability to dynamically execute Lua code as part of the interaction.
Input Ports:
- Execute
- URL: WebSocket URL that includes the server IP address, port, channel (optional). Example: ws://server1.simlab-soft.com:8765/robots_1
- Auto Handle Lua: Incoming messages containing Lua scripts will automatically execute those scripts If enabled (True).
Output Ports:
- Execute
- URL
- Auto Handle Lua
Open External Connection
The Open External Connection node enables the opening of a WebSocket connection to an external system. When the Auto Handle Lua is set to true, incoming messages containing Lua scripts will be automatically executed. This allows for real-time interaction between SimLab Composer and external systems, such as co-simulation engines or hardware, with the ability to dynamically execute Lua code as part of the interaction.
 Send Message Node
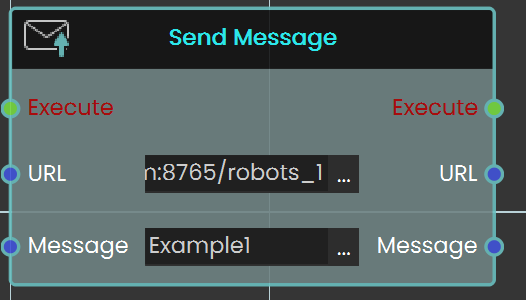
The Send Message node allows you to communicate with the WebSocket server by sending messages. It is essential to ensure that the message format follows the protocol that the server and other clients can process. This node enables real-time interaction with external systems, making it possible to transmit data or commands to connected servers or clients.
 Get Cloud Attribute
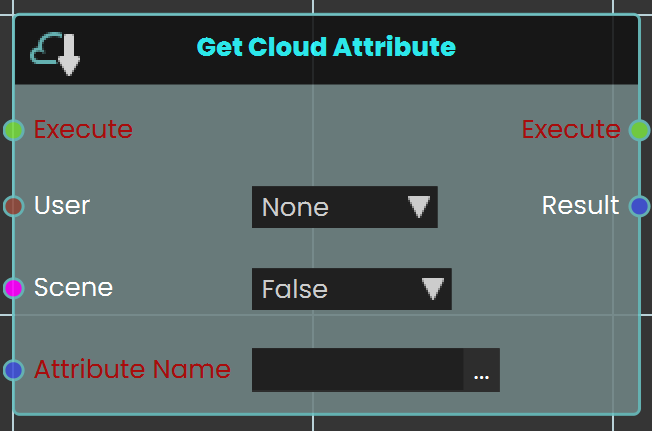
The Get Cloud Attribute node enables the user to retrieve saved progress for a specific VR Experience by assigning the attribute in the Attribute Name field. The progress can be saved for either the scene, the user, or both. Once the node is executed, the retrieved value can be acquired through the Result port.
Example

In this example, a Get Cloud Attribute node is used to retrieve stored data from Cloud. When the user enters the object named FinishLine, the object named Scoreboard will be shown. The data saved for this specific scene for all users is retrieved and stored in a variable named Scoreboard, which can then be displayed during the VR Experience.
Set Cloud Attribute
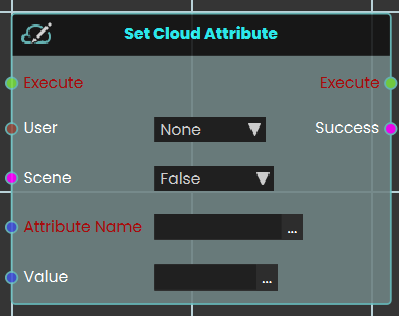
The Set Cloud Attribute node enables the user to store data for a specific VR Experience by assigning the attribute in the Attribute Name field then set the value of it. the data can be stored for either the user, the scene, or both. Once the node is executed, the specified data is saved accordingly.
Example
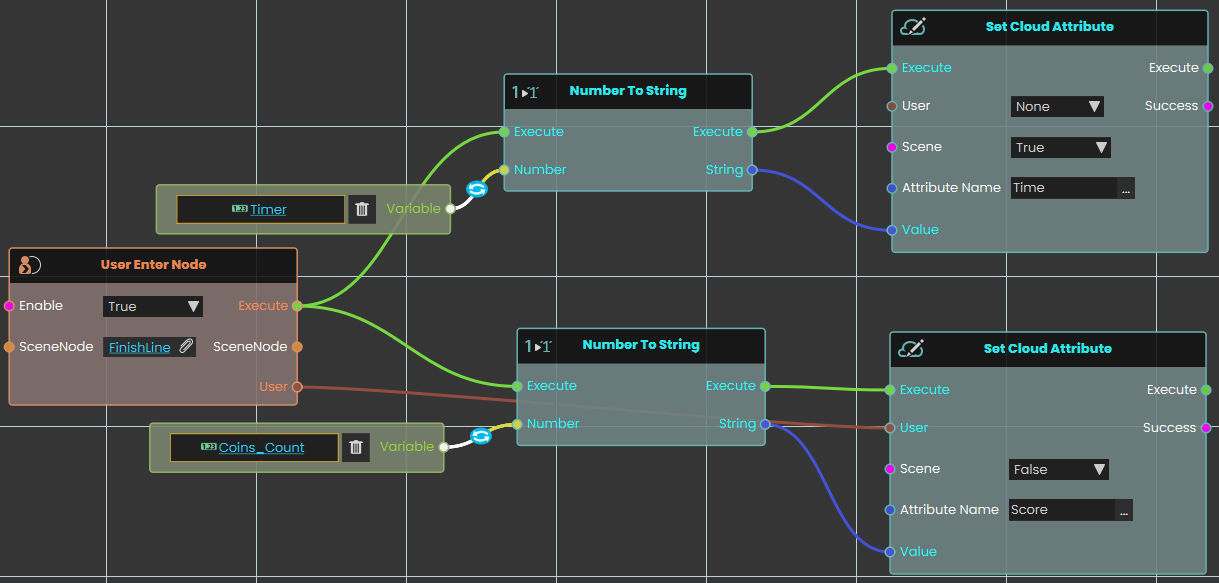
In this example, a Set Cloud Attribute node is used to store data in Cloud. When the user enters the object named FinishLine, the value of the variable Time will be converted to String and stored under the attribute named Time for the Scene Only, meanwhile the value of the variable Coins_Count will be converted to String and then stored under the attribute Score for the User Only.
Note: To retrieve the Cloud data, the experience must be run from a logged-in account in SimLab VR Viewer.